Sunday, February 28, 2021

March 2021 Edible Garden Planner

March garden with lettuce and spinach
Sunday, February 28, 2021

Feels like spring is getting close!  We are finally out of the winter blast and back to more "normal" temperatures.  The cold snap has put the garden behind where it was last year.  The day lilies are up and have flower buds, but are not blooming quite yet.  I have not yet seen any forsythia flowers.  When forsythia blooms, it is time to use pre emergents like corn gluten to keep weed seeds from sprouting.

Now is the time to test your soil, get your garden beds ready for planting, finalize the plan for your spring garden and get planting! 

Soil Testing and Bed Preparation
Now is the time to clean up your beds and determine what your soil needs to feed and support your plants through the coming growing seasons.  Remove all the dead plant material still left from last season.  If you had any disease problem, do not compost.  I always leave anything with seed heads through the winter for the birds.  

You can take a soil sample to our local county co-op extension office to have it tested or buy a do it yourself kit at any big box store or local nursery.  You can do a more extensive soil test by sending your soil sample off.  Here is a link to my blog on soil nutrition:  The next step in garden production and your nutrit...  There is a great analysis web site that will provide a specialized fertilizer designed just for your garden deficiencies that you can make yourself.  Well fed plants grow better and are more nutritious for you, too.  A win-win.

If you don’t want to go to the trouble of testing, a sure way to enrich your soil is to use a balanced organic fertilizer and compost.  I add organic material every spring with a layer of compost then top with hardwood mulch in the garden beds, building the soil’s fertility and its ability to hold water.

A local CSA farmer and organic gardener told me a few years ago that it is important to not let your fertilizer just lay on top of the ground as many of the nutrients will be lost, especially nitrogen.  My spring routine to build the soil is always to put down an organic fertilizer like Espoma, then a layer of homemade compost with any additional composted manure needed and top with mulch.  Nitrogen oxidizes easily with the air so be sure to cover your fertilizer with soil, compost or mulch every time you fertilize.  You can make your own balanced fertilizer, too, which is pretty inexpensive  Make your own all natural, complete fertilizer

If this is your first time gardening, it is super easy to buy plants and put in pots or plant in your established flower beds with your flowers.    Easy kitchen garden  How to know what to grow  Surprising veggies that can be grown in pots  If you are really nervous, the easiest garden to start with are herbs.  They love to be neglected!  My first garden were herbs.  Most herbs are perennials so you plant them once and they come back every year.  Start a kitchen herb garden!

Finalize your garden plan
Before your start planting, take pen to paper and finalize your spring garden plan.  Every fall, I capture what went well for the growing season, what I want to learn more about over the winter, and a plan for the coming season.  You will forget if you don't write it down.  A garden journal is a great tool for gardening.  Reflecting back on the 2020 edible garden; planning for 2021

The big box stores have out their plant racks so they should have transplants soon.  This is a good and easy way to look for what will grow well in your area.  The types that like cold weather that will be out soon are cabbage, spinach, lettuce, leeks, onion sets, potato sets, blueberry, raspberry, and blackberry bare root plants.  

Wait until the soil has dried out somewhat if you are getting the amount of rain we are this year before planting potatoes or they could just rot.   Time to plant potatoes, even if you only have a patio 

I'm not planting any crops from the cabbage, broccoli and cauliflower this year to reduce the pest problems I have been seeing with these crops in my garden.  Cabbage is nutritious and easy to grow   Broccoli and cauliflower growing tips   I say that every year, but I have a hard time resisting sprouting broccoli.  It gives small broccoli florets and broccoli tasting leaves for salads spring, summer and fall.  I have several plants that made it through the winter that I can use right now for salads.  Sprouting broccoli- a year round fav
Mid March garden
The greens I will plant in our mini greenhouse to keep them warmer that helps encourage growth so we get fresh salads as soon as possible.  They will do just fine in the garden bed too.  I just love spring salads!

Some varieties I enjoy growing in the spring garden:  
Green Oakleaf Lettuce-ready to harvest in 45 days  Everything you need to know about growing lettuce
Wild Garden Kales-ready to harvest in 30 days Grow one of the super greens this year-kale
Mesclun Valentine Lettuce mix (red tinted lettuce and greens)-ready to harvest in 30-55 days
Marvel of Four Seasons Butterhead Lettuce (I love the sweet taste of butterheads)-ready to harvest in 55 days Everything you need to know about growing lettuce
Red Sails Lettuce (a ruffled red and green, stays sweet even after bolting)-ready to harvest in 45 days
Space Hybrid Spinach-ready to harvest in 38 days  Grow spinach-a super nutritious, easy green
Gourmet Blend Lettuce (Prizeleaf, Royal Oak Leaf, Salad Bowl, Ashley)-ready to harvest in 45 days
Sugar snap peas-ready to harvest in 70 days Time to plant peas!
All kinds of broccoli or cauliflower-ready to harvest in 50-80 days (leaves are great in salads) Broccoli and cauliflower growing tips
Cabbage-ready to harvest in 68 days.  Cabbage is nutritious and easy to grow
Carrots-ready to harvest in 50-75 days  Grow crunchy, colorful carrots practically year round
Parsley-70 days to harvest  
Potatoes-ready to begin harvest in 70 days  Time to plant potatoes, even if you only have a patio

The above can be companion planted with radishes, beets, chives, garlic, and onions.  Since they are shallow rooted, they grow well with root crops.  Get the most from your space-plant intensively!

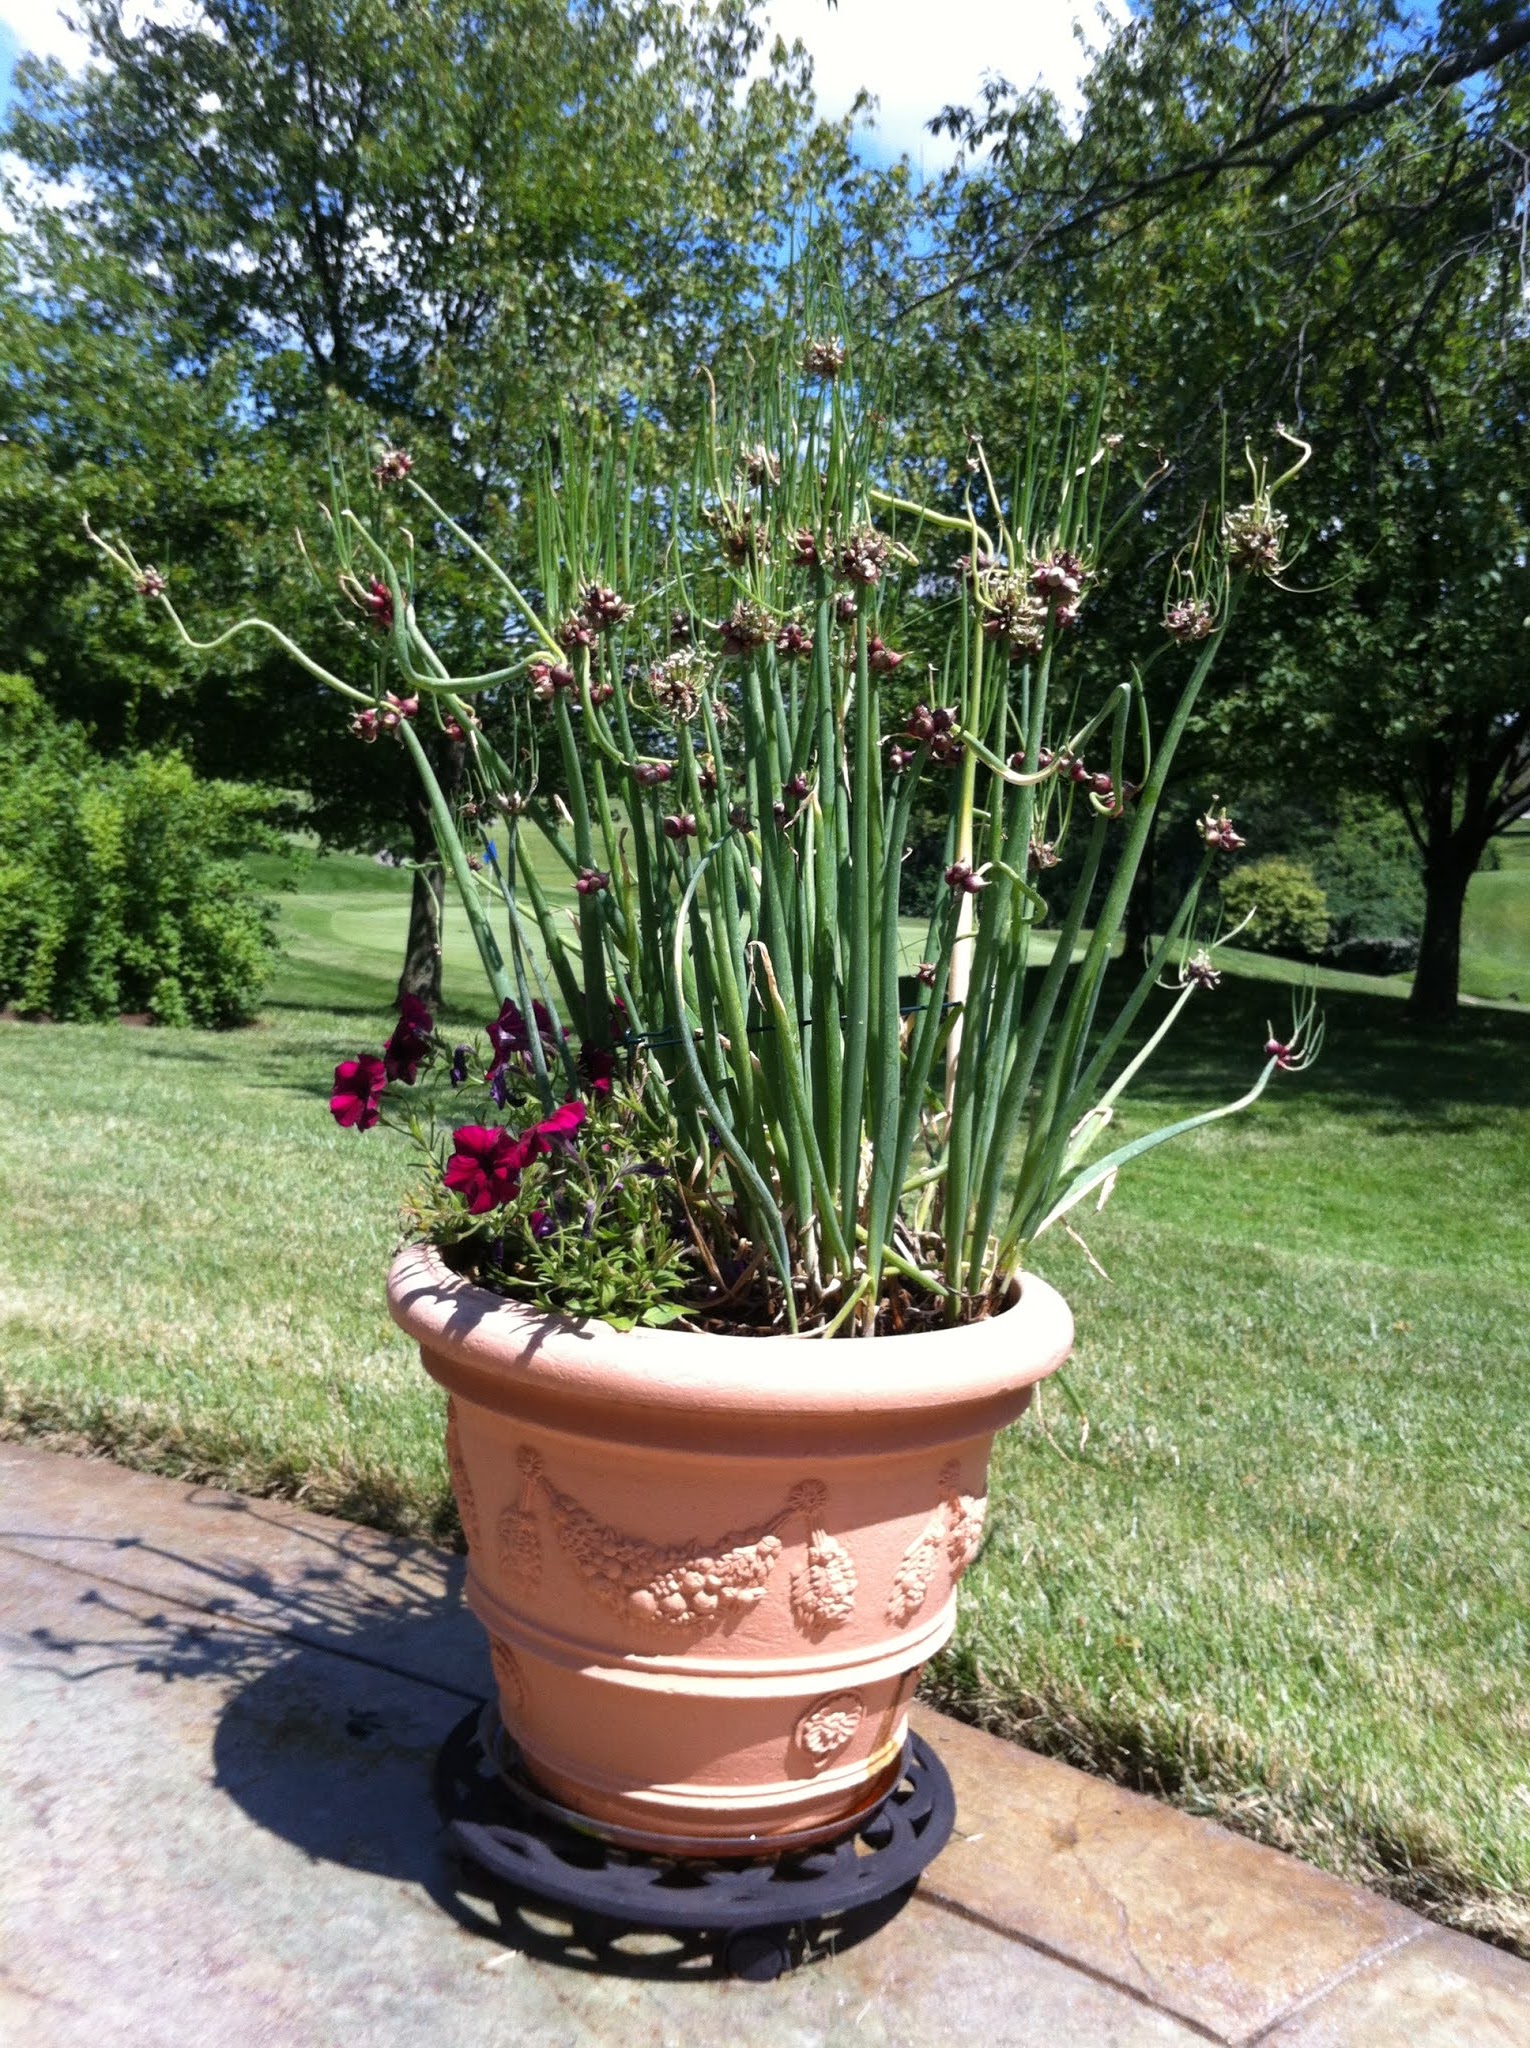
When I plant in pots, I plant with a handful of worm compost and water in with fish emulsion.  Germination should take anywhere from 4-15 days., depending on how warm the soil is.  I am sure I will be out there looking for little green shoots daily.  Decorative container gardening for edibles

Important tip-if planting seeds in a mulched bed, be sure to cover the seed with only soil; seedlings are too weak to push through mulch.  Weed free, self fertilizing, till free garden beds 

Potato box

Zone 6/7 Spring Garden Roadmap

Planting seedlings outdoors:
Now (or as soon as the soil can be worked)-fruit trees and vines, nut trees, asparagus, garlic, leeks, onions, peas
Mid-March-cabbage, kale, lettuce, mustards, spinach
Beginning of April-broccoli, cauliflower, cilantro, more lettuce, lemon balm, parsley
Mid-April-corn, marigolds, rosemary, sage, thyme
First of May-basil, chives, cucumbers, peppers, tomatoes
Mid-May-cantaloupe, eggplant, okra, squash, watermelon

Starting your seeds outdoors**:
Now (or as soon as the soil can be worked): peas, spinach, lettuce
Mid-March: arugula, bok choy, cabbage, carrot, collards, leeks, lettuce, mache, onion. rhubarb, cultivated dandelions, spinach
End March:  fava beans, beets, broccoli, carrot, Chinese cabbage, cress, kale, kohlrabi, leek, mizuna, parsley, parsnip, early potatoes, turnip

**One watch out is planting seeds too soon.  Seeds have to have a certain soil temperature to sprout.  Plant too soon and the seed will rot and not sprout.  Here are some soil temp guidelines.  Temps to plant seeds outdoors  Be sure to harden off your seedlings before planting outdoors  "Hardening off" seedlings

Starting your seeds indoors for summer planting:
Now-chives, leeks, lemon balm, onions, parsley, sage, thyme, lettuce, cress, mustard, chard, spinach
Mid-March-basil, broccoli, cabbage, cauliflower, okra, marigolds, eggplant
End of March-cantaloupe, cucumber, lettuce, peppers, tomatoes

These dates are just guidelines.  You can start your seedlings later and plant your transplants later as well.  Be sure to read the seed packet for what you are starting.  They make all kinds of varieties that are cold hardy and can be planted sooner than what I outlined above.  If you get a cold snap, there are things you can do to protect your early crops.  Extend the season with protection for plants

Happy gardening!

Saturday, February 27, 2021

Time to get seeds going for edible greens

Spring greens
February 27, 2021

Greens thrive in the cool temperatures of spring.  To get a jump on spring salads, start seeds indoors now for arugula, celery, chicories (endive, cultivated dandelions, radicchio), collards, cress, kale, lettuce, mache, miner's lettuce, mustard greens, orach, pac choi, parsley, purslane, salad burnet, sorrels, spinach, sprouting broccoli and Swiss Chard.  

Spring is my favorite time of year.  Everything turns green and the air has that earthy smell.  Now is a great time to get a jump on spring salads by starting seeds indoors and for the extra hardy varieties, directly in the garden.

Since you are harvesting the leaves, you want a soil rich in organic matter, nitrogen to fuel the leaf growth and a pH between 6-7.  Add an inch of compost to your garden before planting and a side dressing of fertilizer when planting outdoors.  

As a general rule, you typically plant a seed at twice as deep as it is.  Here are the seed depths by variety:
1/8" depth: Arugula, celery, cress, lettuce, salad burnet 
1/4" depth: Chicories, collards, sprouting broccoli, kale, miner's lettuce, mustards, orach, pac choi, parsley, purslane, sorrels 
1/2" depth: Spinach, Swiss chard 

For the smaller plants like mache and spinach, I space 6" apart if direct sowing or when transplanting.  For the larger plants, 12" spacing is what I use.
Hardy greens started outdoors
I also direct sow greens seeds in my portable greenhouses outdoors.  You can even direct sow orach and spinach in the garden with no cover right now.  To keep yourself in salads into summer, practice succession sowing.  Sow seeds every 3 weeks so as one crop is harvested, you have another ready.

After transplanting, be sure to keep even moisture.  You likely will not need to water until May as the spring rains keep the soil moist.  Once the temperatures start hitting the upper 70's and 80's, greens will turn bitter if also in dry soil.

For more on growing greens, see Growing fabulous lettuce and greens.

Monday, February 15, 2021

Quick tip-the few tools needed for edible gardening

My gardening tools
Monday, February 15, 2021

So, you are thinking of starting an edible gardening and wondering what tools you will need.  The good news is that there are very few required!  Most of them can even be repurposed from their current kitchen use.

I use just a few tools regularly.  A trowel for digging, a knee pad to kneel on when digging and weeding, some kind of gloves for keeping my hands protected, a measuring cup and tablespoon for measuring out fertilizer, a small cardboard box to carry stuff around with, and something to do spot watering with.

I would invest in a strong trowel.  Make sure that the blade and handle is solid and not thin or hollow.  The ground can be pretty hard when you first start gardening so you need a strong trowel.  In a pinch, I have used a strong tablespoon for digging.

Any type of foam for a knee pad should work.  You could also just use a piece of folded cardboard for knee protection.  

I use gloves that have plastic on the fingers to keep my hands dry and fairly clean.  Just cloth allows the dirt and moisture through.  Even plastic housecleaning gloves work well.  You don't have to buy "gardening gloves", although they do come in pretty designs.  Lately, I have been using work gloves with latex coating.  They work well and are inexpensive.  

My measuring cup and tablespoon are just ones I had in the kitchen and repurposed for the garden.  Nothing special about them at all.  The box that I use to lug my supplies around with and put my harvest in is one that I was given at the local hardware store when I bought transplants.  As long as you don't get it wet, it lasts for years!

I had watering cans already for my indoor plants.  A large watering can is helpful if you are planning a large garden.  I water the seedlings when I first plant them and then for a few days afterwards if they need it.  Mine is a 2 gallon watering can.  You can also repurpose a bowl or pitcher from the house.

Sunday, February 14, 2021

24 No Tech Storage Fruits and Vegetables

Storage beans
Sunday, February 14, 2021

There are no tech ways of keeping your veggies like our great grandparents did.  It is great to eat what you have grown year round.  Here is a listing of crops that store for 2 months or longer without refrigeration.  For more on the actual heirloom varieties that were grown for storage, The First Victory Gardens and Colonial Vegetable Garden  

Cool Storage Crops
The following crops can be kept over the winter without any refrigeration needed.
Beans-dry thoroughly and store in Mason jars.  Let bean pods dry until crisp.  Remove from pods and leave in open container to dry for another 2 weeks.  Don't limit yourself to the mainstream varieties of storage beans.  There are so many interesting, ancient varieties to try.  Growing beans  Once dried, they are easy to rehydrate and use.  Even if you don't grow your own, buy heirlooms in bulk to use in winter chilis and soups.  Use dry beans instead of canned
Corn-Pick after husks dry.  Remove husks and store in dry location until kernels come off when ear is wrung.  Store whole in bins or remove kernels and store in Mason jars.  There are so many beautiful, healthy heirlooms out there to grow and use.  Old timers used to store sweet corn as well for months after harvest.  Pull the plants when ripe and store upside down in a garage or pantry.  One of the few keeper varieties for this still available is Stowell's Evergreen Corn.  
Garlic-After pulling, allow to dry in cool, warm location out of the sun.  Braid and hang after 2 weeks in cool place with moderate humidity like a basement.  Or cut back dry stalk after another two weeks and store in open container.  For those that dry out, I will grind into garlic powder.  I personally like to pickle my garlic in organic apple cider vinegar and homegrown hot peppers.  Garlic harvest is here!
Onions and Shallots-Be sure you have grown storage type onions.  There is a huge difference in how long an onion will last between varieties.  In general, any sweet onion type does not store well.  After pulling, cure in warm, dry location out of the sun for a week or two.  Braid and hang in cool place with moderate humidity.  Or cut back tops, allow to dry another couple of weeks and store in a ventilated storage container.  Drying is another great option to have onions on hand for cooking year round.  This is what I do with sweet onions to have them on hand year round.  Everything to know about growing onions
Shallots drying in the shade
Hot peppers-Chose thin skinned varieties like Rocca Rossa that are easy to dry.  I simply place ripe peppers on the counter until they are completely dry and then store in Mason jars or plastic bags.  Other hot peppers that are thick skinned, I cut and put into organic apple cider vinegar to make hot sauce.  Dried peppers can also be used to make spicy olive oil.  Preserving peppers
Melons-Chose long keeper varieties like Altaiskaya, Banana, Casaba Golden Beauty, Christmas or Santa Claus, Collective Farm Woman, Golden Honeymoon, Lada, Schoon's Hardshell, Vert Grimpant and Zoloistaja.  Store in cool, dark location.
Potatoes-Look for storage types to grow.  There are many varieties out there and some overwinter much better than others.  Harvest when tops begin dying back.  Do not wash.  Cure in cool, dark place with high humidity for 2-3 weeks.  Store in boxes or cloth covered baskets in cool, dark place with moderate humidity like a basement.  Potatoes have to be kept out of sunlight.  If they turn green, do not eat! For more growing and harvesting tips see  Time to plant potatoes, even if you only have a patio
A few storage potato varieties are All Blue, Elba, Katahdin, Kennebec, Dark Red Chieftain, Yellow Fin, Yukon Gem.
Pumpkin and Winter Squash-Harvest after vine has died before hard frost.  Cut leaving 2" of vine for each squash.  Cure in warm, sunny location for a couple of weeks.  Store in open boxes or on a shelf in cool place with moderate humidity.  My butternut squash would keep on the counter into June.  Look for long storage types.  Harvesting and keeping winter squash  You can also buy pumpkins at the store at great prices this time of year and keep them to use throughout the winter.
Sweet potatoes-Dig at least a month before your first frost.  Cure in warm, humid location for a couple of weeks.  Make sure all skin wounds have scabbed over before moving to winter storage area in a cool, humid area like a basement.  Taste actually improves with storage time.  
Tomatoes-Before a hard frost, pick all your tomatoes, including the green ones.  Wrap each tomato in news paper and place in a dark area.  The tomatoes will ripen over time.  They won't be as wonderful as a vine ripened tomato, but much better than a store bought one.  I have had some tomatoes that last into February this way.  Preserving the tomato harvest
 For the longest storage time, look for varieties that were specifically grown for their long storage ability.  A few of the many available are Burpee's Long Keeper, Garden Peach, Golden Treasure, Graham's Good Keeper, Hopkins Stewart Longkeeper, Long Keeper Winter Storage, Mercuri Winter Keeper, Reverend Morrow's Peach, and Winterkeeper.
Watermelons-Chose long keeper varieties like Blacktail Mountain (keeps 6 weeks), Citron Red Seeded, Crimson Sweet, Kholodok (keeps 3-5 months), Nambe Yellow and Winter King and Queen Watermelon (keeps through Christmas).  Store in cool dark location.
Winter squash and pumpkins

Cold Storage Crops
The following crops needs colder conditions for winter storage.  Can be an unheated garage, buried garbage can or root cellar.  Ideal storage temperatures are 32-40F.
Apples-Store individually wrapped fruits in perforated plastic or waxed boxes to maintain high humidity.  The colder the conditions, the slower the apples will ripen.  Check weekly.  If you are getting ready to buy an apple tree, look for ones that do well for storage.  Fruit for small spaces
Beets, Cabbage, Carrots, Celeraic, Parsnips, Radishes, Rutabaga and Turnips-Harvest before a hard freeze.  Trim tops to half inch and cut long roots back.  Pack in damp sand or sawdust in sealed container to keep moist conditions and store in cold basement, unheated garage, root cellar, or buried garbage can.  Be sure that the vegetables don't touch each other and keep 1" between layers.  The other option is to freeze.  All about beautiful beets  All you need to know about growing carrots  All about turnips  Cabbage is nutritious and easy to grow
Cabbage can also be made into sauerkraut in a crock with simply salt and water.  How to preserve cabbage
Look for long keeper varieties to get extended storage time.  Some long keeper beet varieties are Bordo 237, Deacon Dan's, Detroit Dark Red, Dvukhsemyannaya Tsha (not a typo), Early Blood Turnip Rooted, Feuer Kugel, Lutz Green Leaf, Lutz Winter Keeper, and Sweetheart.  Radish keeper varieties are Agata, Arbuznaya, Black Soviet, Black Spanish Round, Blauer Herbst Und Winter, China Rose, Chinese Green Meat, Cylindra, Daikon Gostinets, Daikon Sasha, Dziunaya, Madras Podding, Slobolt, and Weiner Runder Kohlschwarzer.
Leeks-transplant into a shallow pot after trimming tops back by half and trimming roots.  For growing, leeks are part of the onion family so follow the same growing tips.
Pears-pick when still somewhat green and hard.  Cure in a cool area (40-50F) for about a week.  Wrap only blemish free fruits in paper in perforated plastic bags or waxed boxes in high humidity.

Any blemished veggies can either be chopped and frozen or dried and stored in canning jars or plastic storage bags.  Check your stored veggies regularly.  Be sure to remove and use any that are starting to develop blemishes.  

For other preservation methods like canning, freezing and drying, see these blogs  Easy, low tox canning of summer's bounty  Freezing the extras for winter  Dehydrate or sun dry your extra veggies

Saturday, February 13, 2021

Growing asparagus

Sprouting asparagus in spring
Saturday, February 13, 2021

Asparagus is a spring time treat, and a perennial vegetable as well.  It grows tall in the summer with pretty, lacy foliage   Asparagus came to the States in colonial times.  It dates back to Egyptian times 3000BCE and is thought to have been domesticated by the Moors in Spain.  In the wild, the spears are about the width of a pencil.  The type we enjoy today was developed in the 18th century. 

Asparagus has good nutrition, being low carb with moderate protein, fiber, vitamins A, C and E, iron, folate, riboflavin, and thiamine.  It has 70% of daily recommended vitamin K.   Asparagus nutritional profile  

Asparagus will last in the garden for 15 to 20 years.  Asparagus is a hardy perennial and will survive winters even in Zone 3.  The mature plants will be 4-5 feet tall.  It takes 2-3 years after planting to be able to harvest.  The plant needs time to fully establish its root system.  Establish new plants in spring or fall.  Buying crowns to plant may accelerate your first harvest.

It is the first shoots of the plant that are harvested in spring and eaten.  Once the plant begins to fill out, they become woody and don't taste that great.  Asparagus plants grow quite large so should be planted in rows 6 feet apart.  The plants themselves can be planted 1 foot apart in the row.  Asparagus plants have fernlike foliage.  You can either plant them off by themselves or along the back of the garden bed.  Just be sure to have a way to get to them for harvesting and fertilizing in the spring.
Mature asparagus plants
Asparagus prefers a light soil, rich in organic matter that is well drained.  Loosen the soil to 6" deep and mix with organic matter (compost) when planting the original bed.  In subsequent years, apply a top dressing of compost in the winter months. It is best to get the crowns in soil as soon as you get them.  Crowns can be planted 4-6 weeks before last frost (early March for our Zone 7).  It is best to create a small mound to lay the roots out around the mound.  

You can start seeds indoors as early as 60-90 days prior to last frost and transplant seedlings outdoors as soon as danger of frost has passed when daffodils are fading and soil temperature reaches 50 degrees F. 
Baby asparagus plants
April is prime asparagus harvest time.  You harvest the spears when they are 6-10" tall, cutting about an inch above the soil surface.  You can store in the refrigerator for up to 2 weeks.  36 degrees F and 100% humidity are the ideal storage conditions.

The first year of planting, you will not harvest spears.  You can harvest for 2-3 weeks in the second year and 6 weeks the following years.  It is best to leave the smallest spears to help support the roots and leaves of the plant to give stronger harvests year after year.  Fertilize early in spring and again after harvest each year.

It is the male plant that produces the larger, thicker spears whereas the female plants produce small berries (seeds).  Each asparagus plant is dioecious, meaning they are both male and female.  That is why you will see in the description of the variety what percentage of the plants will be female and what percentage will be male.  To have a productive asparagus bed, remove the female plants.  Be sure to take this into account when you plant your bed as you will need to plant more than you will end up leaving in the garden.
Berries on female plants
Pests of asparagus are the asparagus beetle, slugs.  You can use pyrethrin for the beetles and slug traps or baits to keep the slugs under control.  I recently saw wool pellets that you sprinkle around your plants that are susceptible to slugs and the pellets will expand into woolly balls that slugs won't cross so that is another option.

Asparagus is susceptible to fusarium wilt and stem, crown rot, and rust.  This is why it is important for them to be in loose soil that is well drained.  If your garden conditions aren't ideal, be sure to look for varieties that are resistant to these diseases.

Sunday, February 7, 2021

Maximize varieties in a compact garden

Using pots on the patio, growing up in the garden bed

Sunday, February 7, 2021

If you have a horizontally challenged space for gardening, there are several ways to maximize the varieties you can grow.  You can utilize hanging baskets, pots, use supports to grow up, and be choiceful in the type of vegetable you choose.  

Most vegetables do best in full sun.  Look for your sunniest spot and see how you can lay out, and stack, your vegetable garden to take advantage of every horizontal and vertical space provided.  

There are so many varieties of individual veggies and fruit available today.  For instance, peas, beans, melons, cantaloupe, tomatoes, squash, and cucumbers all come in either bush or vine.  They come in different sizes as well.  There are varieties that grow wide and short or tall and skinny or wide and tall.  Seed packets will usually give you the  width a plant will grow to if place in the ground, but not the height.  If you grow in a pot, the plant typically will not grow as large as in the ground.

Here is a link to average plant heights and root depths at maturity:  Veggie plant height and root depth 

If you are space constrained, I would start with what you love to eat.  Make a list of what you are buying in the produce section.  This is a good starting point.  How to decide what to plant for small spaces?

Also think about how much a particular type of vegetable you can get from each plant and space it is taking up in your garden. Some vegetables take months to come to maturity, take up a lot of space, and only give a limited harvest.  Think creatively about what you like.  For instance, conventional broccoli takes 3 months to get a head.  You can grow and harvest sprouting broccoli with leaves that taste like broccoli and produce little broccoli sprouts over months.

There are many varieties that I grow in pots because they seem to do as well if not better than in the ground and it makes it easy to bring in the tender perennials to the unheated garage for the winter.  Peppers, eggplant, Egyptian walking onions, beets, snow peas, chard, lettuce and other greens, Malabar spinach, New Zealand spinach, mint, Dragon's tail radish, stevia, fig tree, olive tree, bay tree, rosemary, citrus trees, aloe, basil.
Pepper plant and petunias in pot on the patio

There are several veggies, fruits and herbs that you can grow in hanging baskets.  Creeping thyme, mint, peas, beans, tomatoes, strawberries, cucumbers are just a few examples.  When selecting a vining plant to put in a hanging basket, check the vine height to see how long it will get.  You can always pinch off the ends when they get the length you want them to be.

For the most part, you want to chose dwarf or compact varieties for growing in pots.  A couple of tips on growing in containers: consider using self watering pots to significantly reduce watering required and use a soluble fertilizer every 2 weeks.  Pots require more of both than the garden bed.  For more information on what size pot and varieties to select for growing in pots, see these blogs.

You can also grow up in the garden bed or in a pot.  You can use a simple wooden stake, a pretty colored corkscrew stake, a decorative arbor, a trellis or tomato cages to keep the plant contained and headed skyward.  For vertical gardening, look for the vining types.  Again check for the length the vine will grow or pinch off the tip when it reaches the height you desire.  

When you are thinking of what you want to grow, be sure to do a layout.  You want to maximize the sun each plant gets.  To do this you want to put the tallest in the back and work your way down in height.  Watch to see how the sun travels through the day.  Ideally, your garden will face the south as this is the most sun exposure.  Don't forget patio and porch space that you can put pretty pots with flowers and veggies.   How to develop an edible garden plan
Egyptian walking onion and petunias on patio

Don't despair if you don't get 12 hours of sun a day, there are plants that produce even in shaded spots.  Edible shade gardens shine in summer

Also think about the conditions that crops prefer.  Planning for a four season garden  Most greens do enjoy cooler temperatures.  You can plant your lettuces, spinach, and Asian greens in between crops that will grow up to shade them as the temperatures rise, extending the harvest.  When a crop is done producing, have a plan for what you are going to plant in its place so every spot is taken year round.  Want continuous harvests? Succession planting!

I grow most of my lettuce and greens in pots.  This way, I can give them full sun in the spring and then move them to a shadier spot as the temperatures rise.    Growing fabulous lettuce and greens
Potted lettuce and greens

Some crops are quick growers.  Radishes are ready to harvest in 25 days.  Greens can be harvested from the outside of the plant in about the same time for baby greens, letting the center continue producing leaves for harvests over months from the same plant.

I look for heavy or prolific producers on descriptions to get the most from each plant.  Small tomatoes and peppers typically produce many more per plant than large fruiting varieties.  What crops give you the biggest bang for your time?

Before you get started planting, make sure your potting soil and garden bed is in the best condition to grow healthy, strong plants.  You do need to renew your potting soil each year and should get a soil test for your garden bed to know what the soil is missing.  If you don't have the time, just an organic balanced fertilizer as it is slow release and not too strong that it gets nutrients out of balance as quickly as chemical fertilizers do. 

Get more from your garden space this year by creating a detailed plan with creative strategies for your little space.

Saturday, February 6, 2021

What to start and plant for the February edible garden


February 6, 2021

February is the time the garden begins to wake up, readying itself for the growing season in the Midwest edible garden.  There are a few veggies that can be seeded outdoors and many that can be started indoors to give you a jump on harvests.  Using season extending strategies can also help you harvest sooner.  

Outdoor seeding
There are a few hardy veggies that you can sow outdoors in February.  Outdoor seed starting tips 
*Spinach seed can be scatter sown and will sprout when the temps are right.  Grow spinach-a super nutritious, easy green
*Peas can be tucked into pots and in the garden.  My granny would plant as soon as the soil could be worked, even with a little ice still in the soil!  Time to plant peas!
*Fava or broad beans can also be planted as soon as the ground can be worked.  Grow a European favorite-the fava or broad bean
*This is the time of year that asparagus can be planted as soon as the soil can be worked.
*Mache or corn salad is also a super winter hardy green that can be sown directly in the garden.   Growing fabulous lettuce and greens

Outdoor transplants
*Blueberry bushes and shallots when soil can be worked.
*At the end of the month, hardened off veggie transplants of cabbage, endive, kale, kohlrabi, leeks, lettuce, onions, pac choi, rhubarb, radicchio, scallions, shallots and spinach can be planted outside.  A spring edible garden
*Many herb plants can also be planted at the end of the month.  Chives, fennel, horseradish, parsley and thyme.  Start a kitchen herb garden!
Early March garden
Indoor seeds to start
There are many veggies that can be started indoors.  The trick to indoor seed starting is to not get too anxious and start seeds way before you can plant them outdoors.  Indoor seed starting tips

Seeds to start indoors now are the ones you will plant outdoors at the end of February and beginning of March.  Be sure to harden them off (gradually get them used to the outdoor temperatures) before putting in the garden or outdoor pot.

Asparagus, artichokes, arugula, beets, broccoli, Brussels sprouts, cabbage, cauliflower, celery, chard, Chinese cabbage, collards, eggplant, endive, fennel, kale, kohlrabi, leeks/onions/scallions/shallots/chives (if growing from seed), cold hardy lettuce, mache, marjoram, mizuna, mustard greens, pac choi, parsley, peas, radicchio, snow peas, sorrel, summer savory, spinach, and thyme.
Indoor sowing/outdoor planting dates

Outdoor planting tips
Be sure to harden off any transplants that you grew from seed before planting in the garden or outdoor pot.  You'll need to get your transplants used to the outdoor temperatures.  I like to plant outdoors when the forecast is for overcast skies and warmer temperatures for a few days.

For your portable greenhouses, you can grab plants from there to plant in the garden and start more seeds in the greenhouse.  

You can also use season extenders like portable greenhouses, row covers and cloches to protect your new transplants and give them a warming boost for growing.  The biggest issue with greenhouses and cloches in the spring is they can be 50 degrees warmer inside them than the outdoor air so you have to be diligent in opening them up when the temps start rising into the 40's and 50's on sunny days.  Extend the season with protection for plants

Spring garden prep
Before you start planting, be sure your garden is in tip top shape for the growing season.  Do a soil test to see what nutrients are needed.  Add the nutrients at the beginning of the month so they are available to the plants when they go into the ground.  I like to add fertilizer and worm castings to each planting hole.

 Be sure to also apply your mulch on top of the fertilizer and minerals you add to the garden.  This keeps them from being washed off or in the case of nitrogen, being released into the air.  Weed free, self fertilizing, till free garden beds

If this is your first time gardening and want to get started but not sure how, try this blog.  Easy kitchen garden

Happy gardening!