|
Sunday, July 26, 2026 |
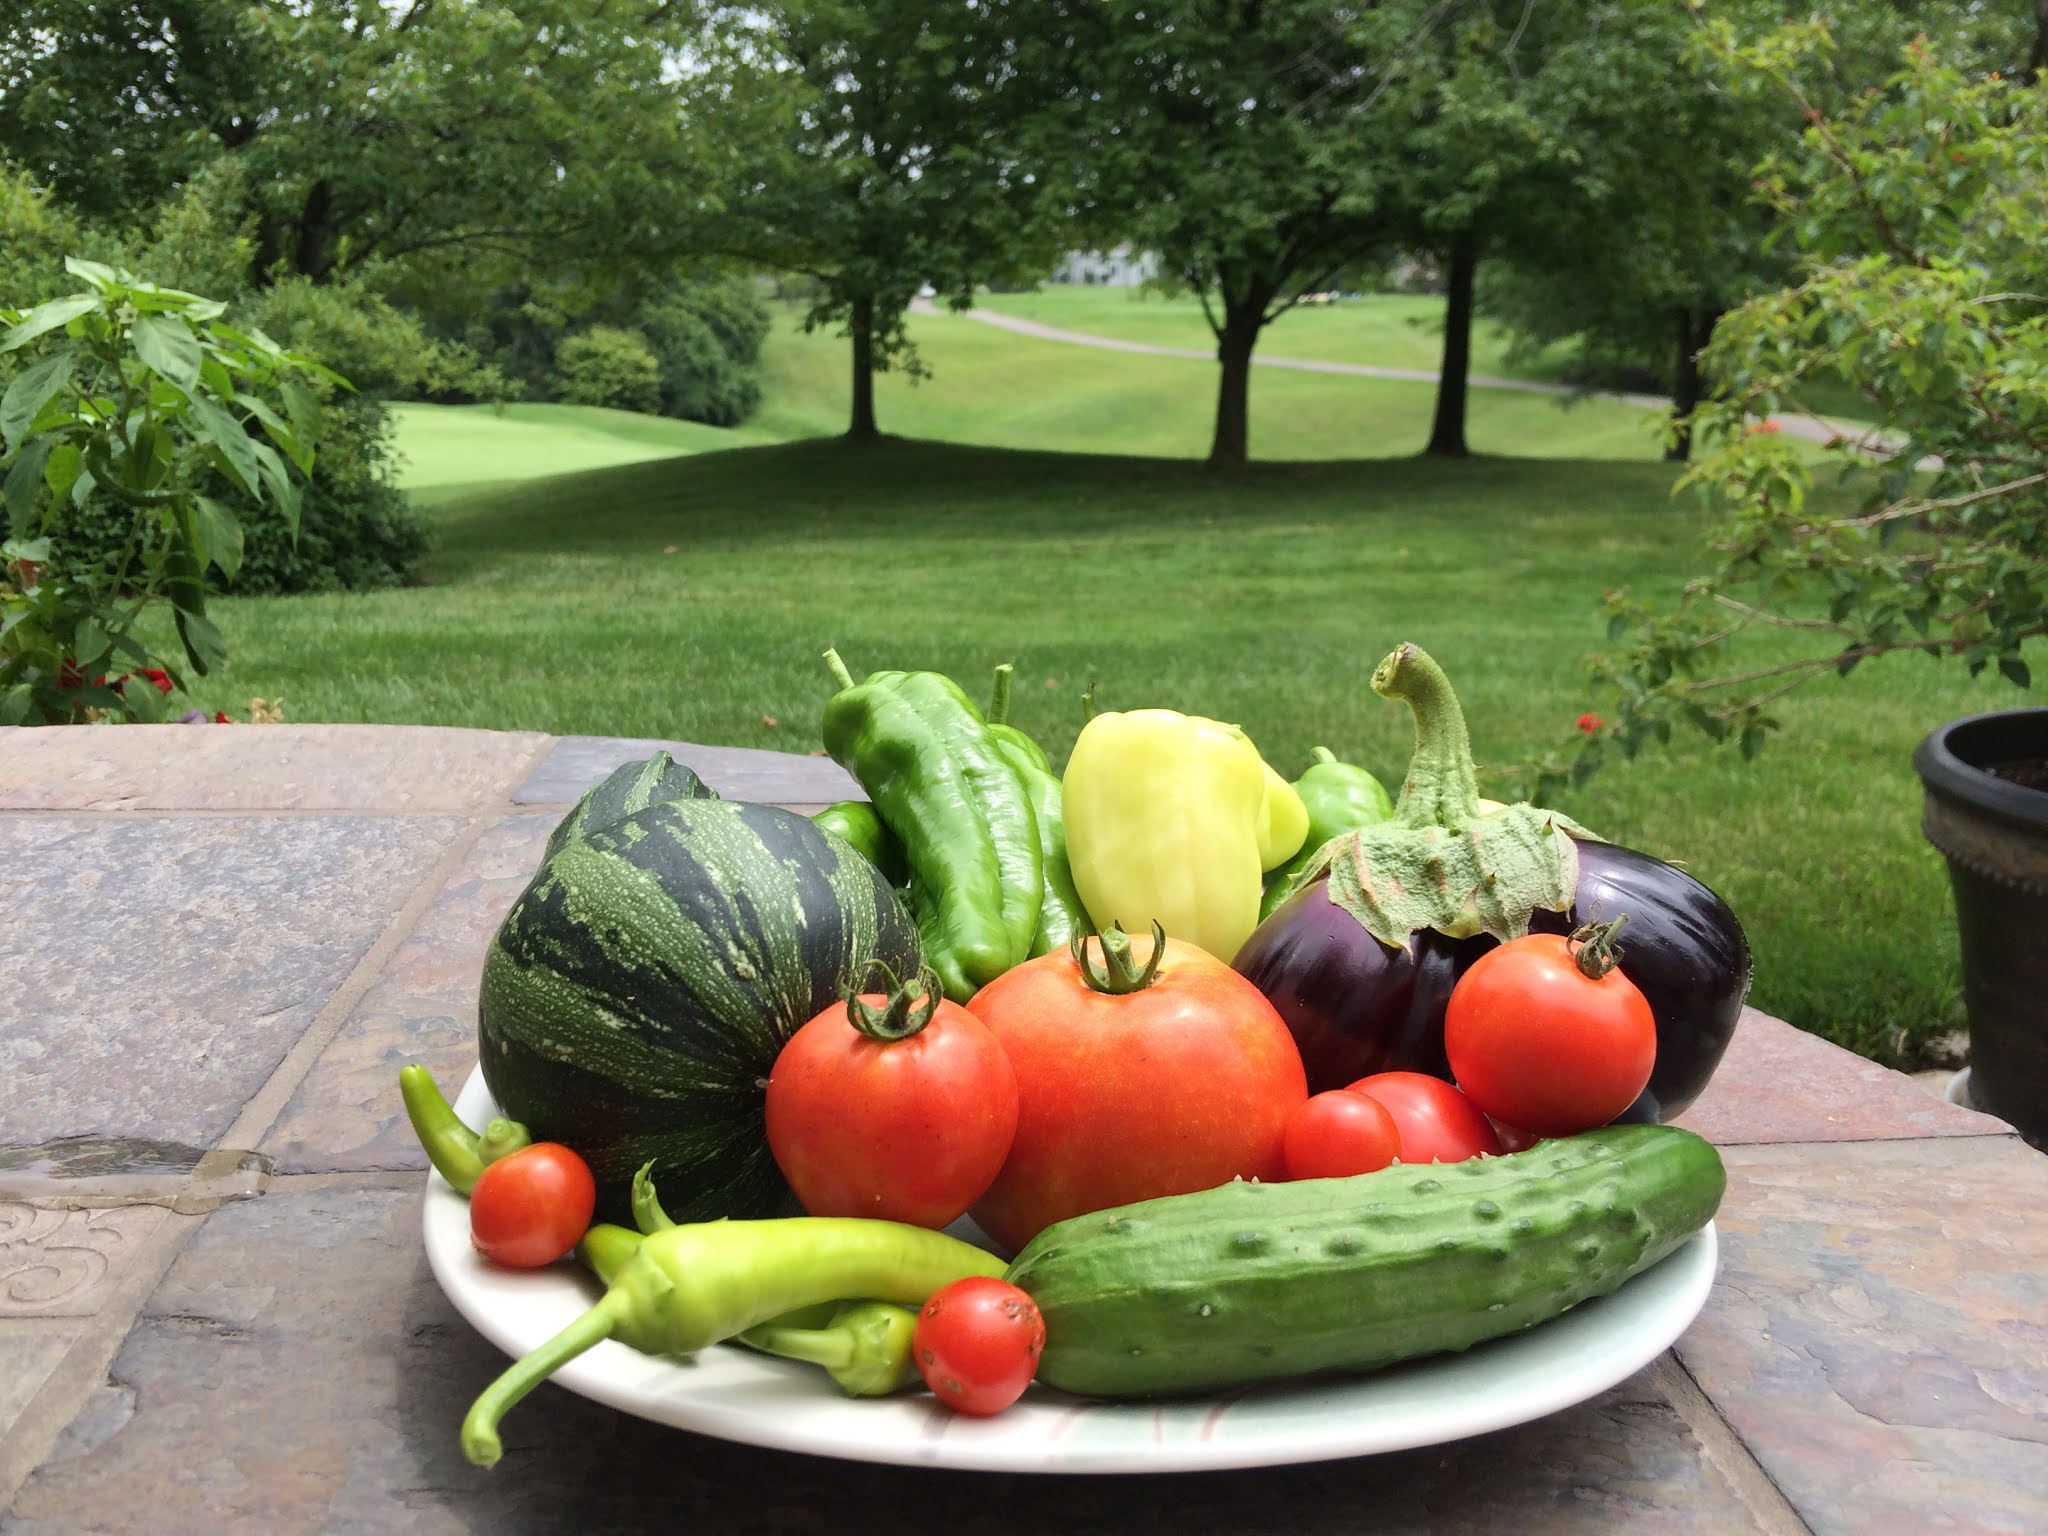
In July, we go from famine to feast in the tomato department. At the beginning of the month, we are searching for our first ripe tomato. Two weeks later, we have a bounty of them! The tomato plants are producing faster than we can eat them right now. There are so many recipes that fresh tomatoes can be used in-salsa, salads, bruschetta, cucumber/tomato/onion salad, on burgers, on sandwiches, on pasta, the list goes on. So, what to do when you are eating tomatoes at every meal and still have them coming? It is time to preserve them!
I freeze, dry and can my excess tomatoes. Mainly freeze and can. This year, I may get extra productive and dry some in the oven. They do take a while to dry but the intensification of flavor really makes a dish.
Be sure to put the date and description on each freezer bag and jar that you put up. You may think you will remember the date they were frozen or canned, but to be on the safe side write the type and date you processed them. For frozen and dried, use the oldest first and all within a year for optimal flavor.
 |
| Tomatoes sliced and in quart freezer bag |
During peak season for any produce, you can get the lowest prices at your neighborhood farm or farmers market for fresh tomatoes, too. In many cases you can get a huge discount for any bruised or blemished tomatoes. These are great to use for preserving, just be sure to remove any soft spots.
Right now, I prefer to freeze because it is so hot that I don’t want to turn on any heat generators inside the house. For cherry type tomatoes, I just half them and throw them in a quart freezer bag and put in the freezer. For larger tomatoes, I slice then put them in freezer bags. They thaw much quicker this way. They will have a fresh taste when thawed and used for salsa, sauces, soups or chili. Freezing the extras for winter
When it cools, I start drying and canning. I take all the tomatoes still left from last year and can those in the fall. I dry fresh ones on the patio when it gets cool, too.
I just love “sun dried” tomatoes right out of my own dehydrator. You can dry them in the oven too if your oven temp goes down low enough. 150-200 degrees F is recommended and the lower the temp, the redder the dried tomato. The higher temps will cause the dried fruit to darken. It will take 6-10 hours for the tomato to dry. You want to make sure they are completely dry or they will mold in the jar. Store your dried tomatoes in a quart jar or ziplock to use until next year. Dehydrate or sun dry your extra veggies
 |
| Chocolate and black tomatoes oven dried |
Only a water bath is needed for canning tomatoes because they are acidic. Make sure you follow a sauce recipe exactly as it is critical for keeping to the right acid level. I use Weck's canning jars and antique canning jars with glass lids. They are all glass, including the lid, so no worries about what is in the lining of the lids. Weck's are a really pretty shape and stack wonderfully if you want to store the most in your space. They are made in Germany. I haven't found any all glass canning jars made in the USA, unless you purchase antique jars.
All you need to can tomato sauce is a large pot, canning jars, a metal funnel, and tongs. A pressure canner is not needed for acidic foods like tomatoes. Always follow the recipe as written to insure food safety. For more on canning, see Water bath canning versus pressure canning
I throw the entire tomato (without the stem) into the food processor. Most recipes say to remove the peel and seeds because they can impart a bitter taste. I have not had any bitterness in my sauces and there are lots of nutrition in the seeds and peels so I make use of the entire fruit. I also use all types of tomatoes and not just the paste tomatoes. You will likely have more juice in non-paste tomatoes so cooking them down will take a bit longer to get a thick sauce.
Paste tomatoes are meatier and make a silkier sauce which is nice for soups. I always have a paste tomato in my garden and try to have one per bag when I freeze them. My favorite paste is the heirloom Italian Pear Paste. It provides lots of huge, red tomatoes.
This is a good time to save the seeds from the best, biggest, tastiest tomatoes for your garden next year. Only save seeds from plants that do not have a disease. I take the seeds and put them in water to let them ferment. Those that float are not viable. I remove these, lay the good seeds on a paper towel to dry thoroughly, then place in a zip lock bag with the date and variety to use in next year's garden. Seed saving-fun, easy and a cost saver
 |
| Sauce in Weck canning jars |
Here is the recipe from Ball’s “Complete Book of Home Preserving” for tomato paste:
9 cups of pureed tomatoes, 1½ cups of chopped sweet bell peppers, 2 bay leaves, 1 teas salt, 1 clove of garlic. I'll also toss in some of my dried mixed herbs for flavor. About a tablespoon or two per batch.
I put it all into a large pot and let simmer until it is the consistency and taste I like, about 2.5 hours. Remove the bay leaves and garlic. Boil the jars, lids, and seals as the sauce is close to done.
Add 3 teas of lemon juice to each hot pint jar, fill with the hot tomato sauce to within ½ inch of the top, and seal the lid, following the instructions for the type of jar you are using. Place all the filled jars in a large pot, insuring they are fully covered with water. Bring to a boil and process for 45 minutes. Remove from canner. Let cool. Follow the instructions for the type of jar and lid you are using on how to test the seal without breaking the seal. For any that the seal did not hold, you can put in the fridge and use in the next week or so. That’s it!
I will can any frozen tomatoes I have left over from last season in the fall when it is cooler. It takes about 12 quarts of frozen tomatoes yesterday to make 1 gallon (4 liters) of sauce. I use the half liter Weck's tulip jars which is almost the exact size of a pint jar and are pretty to boot.
Other high acid foods you can use a water bath for canning are jams, jellies, condiments, salsas (Quick, homemade salsa), pickles (Make your own pickles without a store bought seasoning mix), and relishes. Consult with a canning book for more tips and always be sure to follow the recipe exactly to ensure they safely keep.