|
| Zinnia and Egyptian walking onions |
Sunday, June 30, 2024
An easy option for a plant once and be done are self-seeders. These are plants that produce many seeds. One trick to self-sowing is letting the seeds sprout before adding a thick layer of mulch in the spring which may dampen how many seedlings can push up through the mulch crust if put down before they have a chance to sprout.
There are many self-seeding vegetable and herbs. Here are a few we are growing:
*Amaranth (Love Lies Bleeding)
*Arugula
*Basil
*Borage
*Calendula
*Celery
*Chamomile
*Chives and Garlic Chives
*Cilantro
*Cocks comb
*Cultivated dandelion greens
*Dill
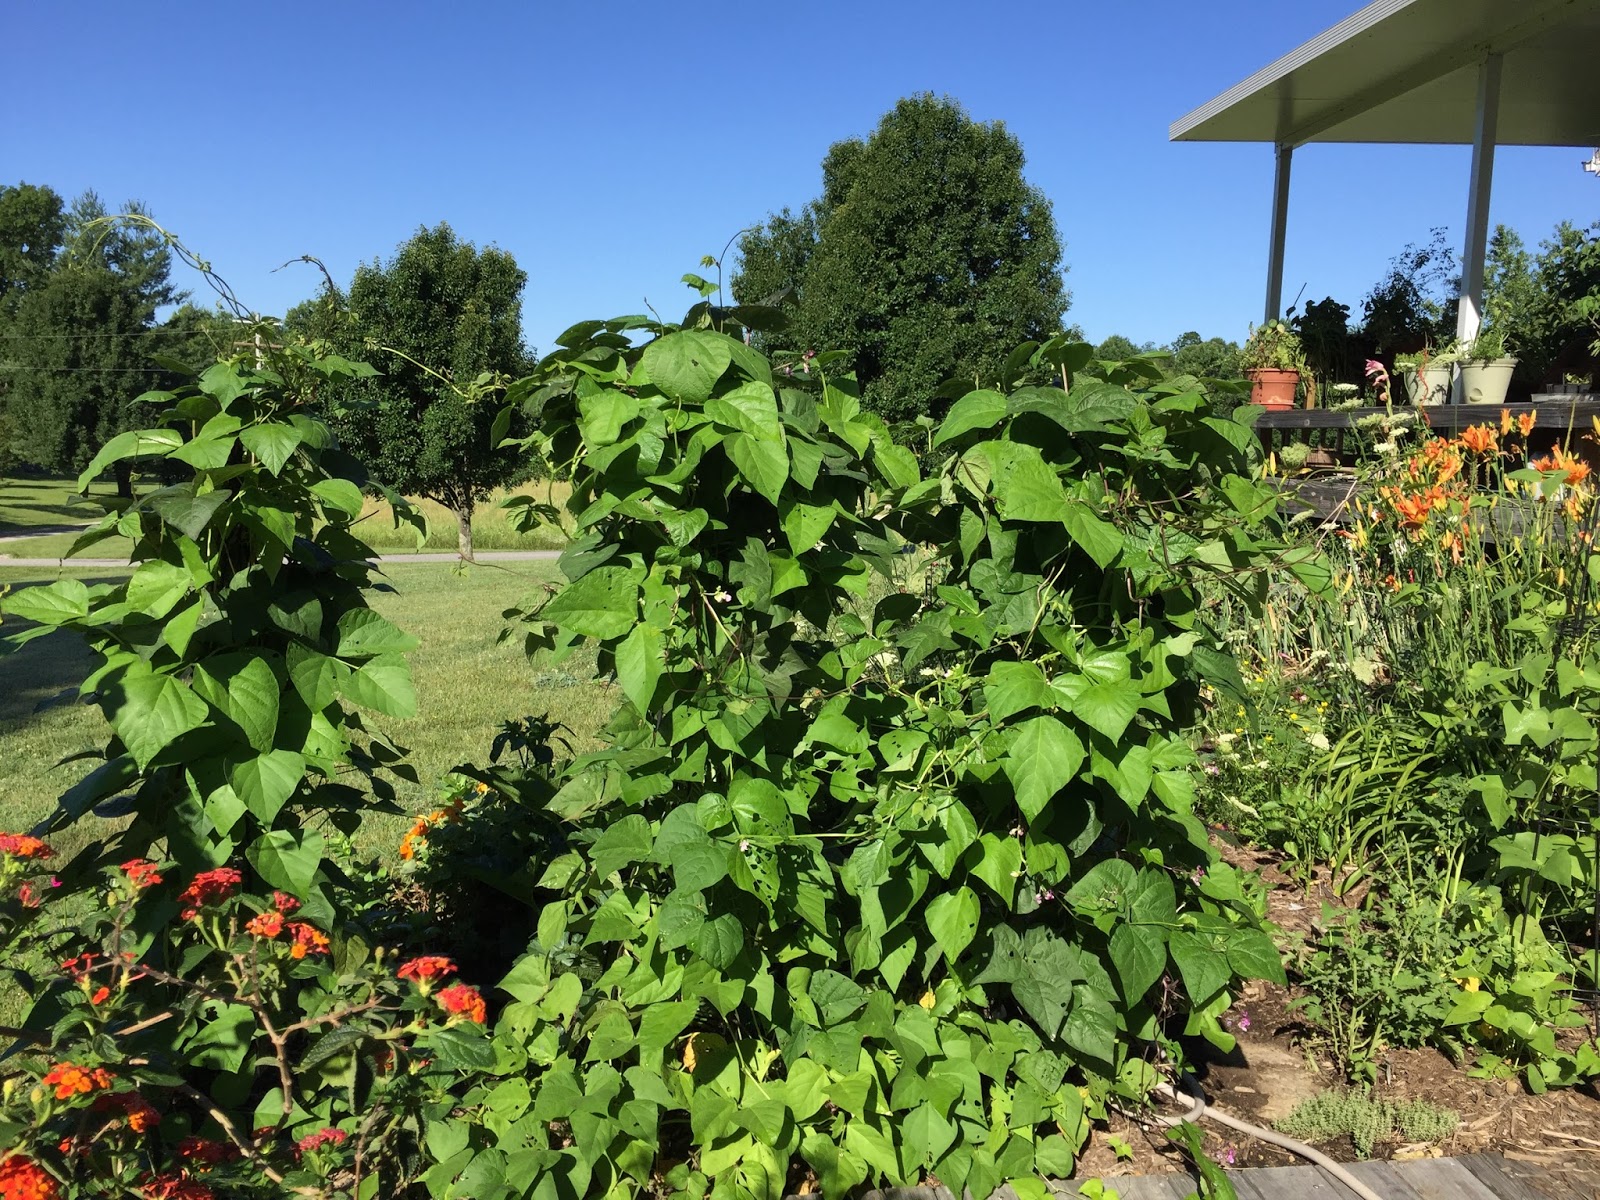
*Hummingbird vine
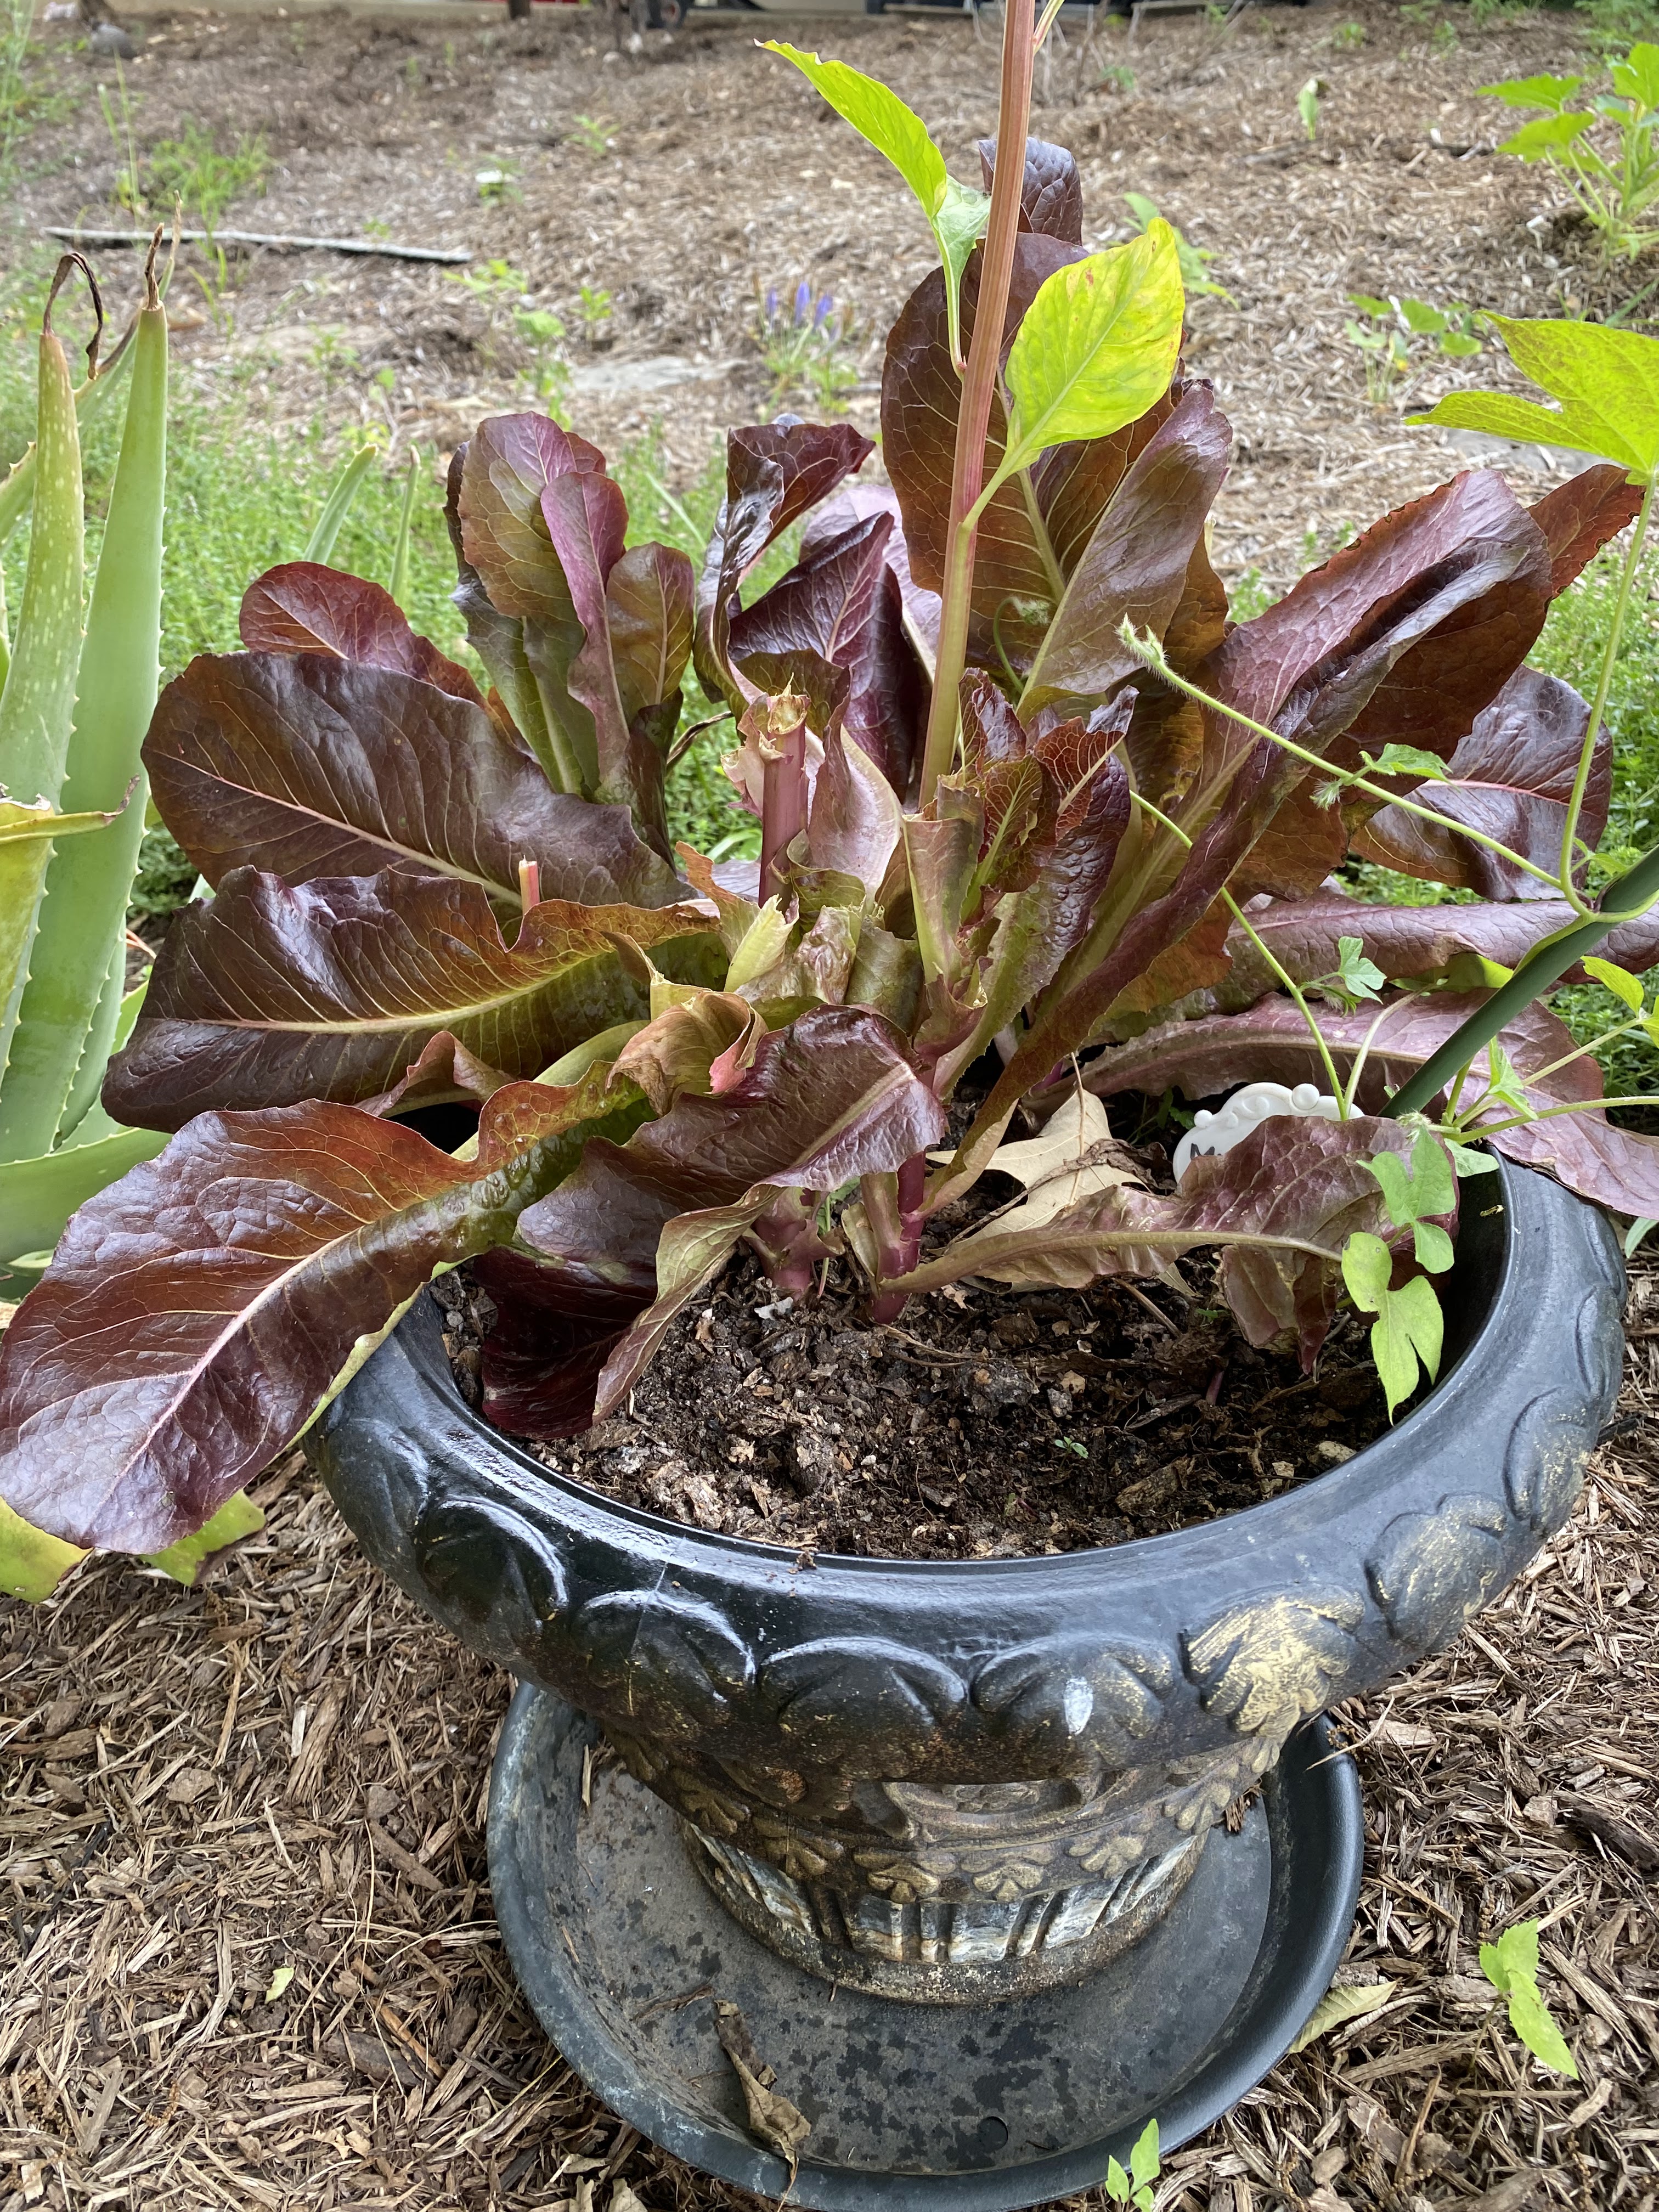
*Lettuce
*Marigold
*Giant Leaf mustard
*Giant Red mustard
*Miner’s lettuce (claytonia)
*Morning glory
*Nasturtiums
*New Zealand spinach
*Egyptian walking onions
*Orach
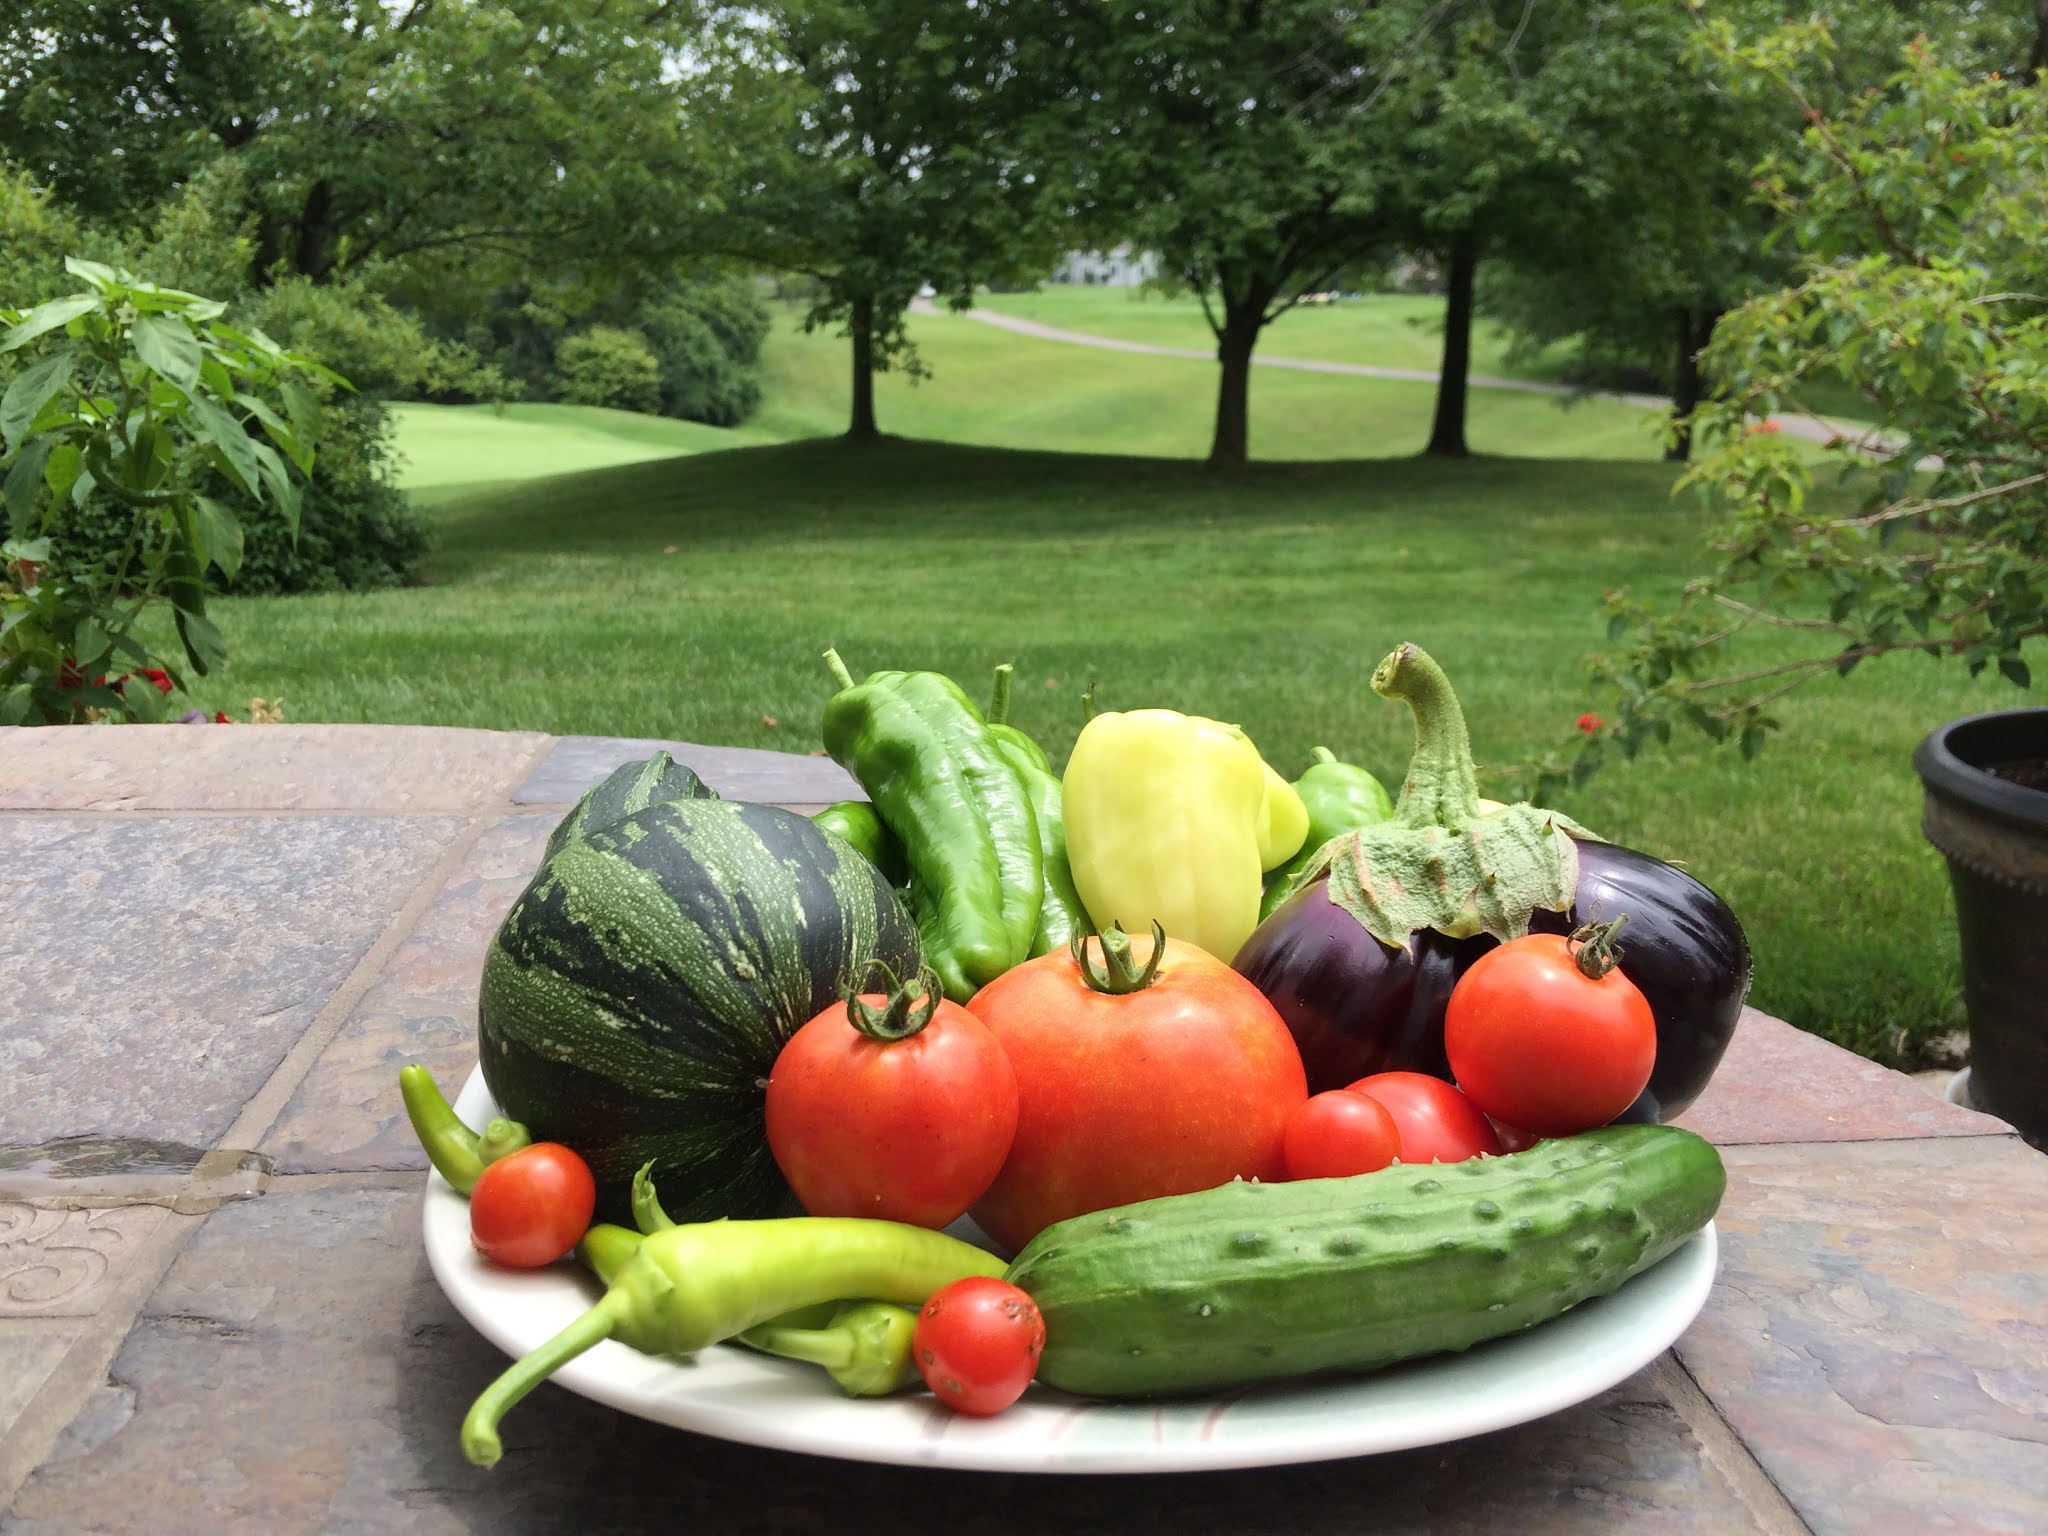
*Peppers
*Purslane
*Red Malabar spinach
*Sorrel
*Spinach
*Squash
*Sunflowers
*Tomatoes
*Winter cress
*Zinnias
The trick to self-seeders is you have to let them go to seed in the garden. That means leaving the brown flower heads on the plant or the dropped tomatoes on the ground so they can leave their seeds.
A risk is the spread of disease. If you have any plant that was diseased, dispose of the plant in the trash and pull any volunteers that come up.
I have "volunteer" tomato plants that sprout every year, here and there. They are easy to pop out of the ground and plant where you want them or leave them where they are. I always let them grow because they must be happy and adapted to my garden conditions. It is always a surprise to see what type of tomato it is.
In the garden right now, the edible volunteers I have are Red Malabar spinach, New Zealand spinach, garlic chives, amaranth, orach, cock's comb, squash, peppers, tomatoes and zinnias that have filled the garden and pots. Several fully mature volunteer basil plants. I have moved basil, tomatoes, peppers and cock's combs around the garden in spots I want them to grow.
A caution with growing self sowing plants is that they can self sow a little too well. The only one on the above list that I would not let loose in my garden is the purslane. I only let it grow in pots. The rest are easy to pluck out the ones you don’t need.