Saturday, January 16, 2021

What to plant in the January edible garden

 
Saturday, January 16, 2021

In January, there are things you can plant if you have a hotbed outdoors.  January is the time to get started sowing seeds indoors to get a head start on spring and summer harvests.  

Hot beds have been around for hundreds of years.  Before there was electricity, hot beds were heated by 18" of fresh and dried horse manure, covered by 12" of soil.  A pit was dug down so that the manure and soil were below ground level to keep the heat in.  It was covered by a wooden box with a glass angled to the sun.  Today, the same can be done.  Folks also use a light bulb or heating pad to keep the temperature above freezing and below 55 degrees F.  

There are a few cole crops that can be placed in hot beds this time of year and seeds sown.

January outdoor hot beds
Winter hardy lettuce transplants
Cauliflower transplants
Strawberry transplants
Cold hardy lettuce seeds
Carrot seeds
Radish seeds
Spinach seeds
Austrian winter pea seeds

January yard, garden bed
Bare root fruit trees

There are many seeds that can be started indoors in January.  Take a look at your frost date and seed packet for the best time to plant.  Earlier is not better.  If left indoors too long, the seedlings just get spindly and weak.

January seeds indoors
12-16 weeks before last frost
Cabbage
Celery and Celeriac
Corn Salad (Mache)
Onions
12 weeks before last frost
Artichokes
Parsley
Peas
10-12 weeks before last frost
Endive
Escarole
Leeks
8-12 weeks before last frost
Eggplant
Kale
Kohlrabi
Mustard
Spinach
Sprouting broccoli

There are many flower seeds that can be started in January as well.  Butterfly weed, Chinese lanterns, Drumstick flower, Angel's trumpet, Delphinium, Sweet William, Foxglove, Eucalyptus, Blanket flower, Helianthus maximilliani, Hollyhock, Lisianthus, Lupine, Pansy, Petunia, Prince's feather, Black-eyed Susan, Snapdragon, Stock, Verbana, Yarrow are a few that can be started indoors in January.

Sunday, January 10, 2021

How to develop an edible garden plan


 Sunday, January 10, 2021

So you are interested in dabbling in edible gardening, but not quite sure how to get started.  Here are some tips to begin the incredible, edible journey.

Plan the layout of your garden
The easiest way to get started is to plant in an existing flower bed.  Do a survey of your existing beds and decide where you have room to tuck in edibles.  Most edibles required 6 or more hours of direct sunlight.  Keep this in mind.  Draw it out on a piece of paper, including rough measurements of the garden bed.

Make a small list of produce you are buying 
The biggest mistake a new gardener makes is trying to grow too much the first season.  The edibles that thrive on neglect are herbs.  You can always start with these your first season.  I would stick with buying plants for the first year or two.  Local hardware stores, big box stores and nurseries carry a wide variety of herbs and vegetables that should grow well in your climate.

With the list, look back on the survey you did on where you can add edibles into your landscape.  Add them to your drawing so you can remember when it is time to buy what you need to get.  Develop your shopping list of plants to buy.  Do a little research to know for the plants you want to grow if they grow best in cool weather or warm weather.

Determine the amendments you need for your garden bed 
Doing a soil test is the best way to determine the best fertilizer and amendments to add at planting.  You can take the soil sample to you local extension office for testing.  They will also analyze it and share exactly what your garden bed needs.  If this is more than you want to do, just add an all natural fertilizer when you plant.

You will also need a trowel to dig the holes.  It is also nice to have a pad to rest your knees on as you plant and gloves.  This is all you really need to get going.

Start a garden journal 
You may think you will remember everything you want to do and what your plan is, but most of us will not remember all the details.  Start a journal right now.  Capture all your thoughts and decisions you have made.  Include the garden layout in your journal.  

Saturday, January 9, 2021

January 2021 Edible Garden Planner

It's seed catalog season!

Saturday, January 9, 2021

January is the time of dreaming and planning for your spring garden.  All the seed companies begin sending out their catalogs for seeds and plants in December and January.   It is an exciting time for browsing the magazines and making the garden plan for the upcoming year!  I highly recommend that you order sooner rather than later this year.  Last year, seed catalog companies sold out of many varieties fast.

Grow what you love!
The easiest way to fall in love with gardening is growing what you love to eat.  There is nothing like strolling out to the garden to see what's ripe and tasty for dinner.  If you have ever wanted to plant a kitchen garden, but weren’t sure if you had the space or skills, you may be surprised.

If you are intimidated by starting a garden, grow herbs.  Herbs thrive on neglect so a great choice for dipping your toe into the edible gardening arena.  This is how I transitioned from a purely ornamental garden to integrating edibles into my garden beds.  A bonus is many herbs are perennials so only have to be planted once and come back year after year.  

It is common for Italians and French to have a small kitchen garden where they grow herbs, greens and vegetables year round.  It is amazing the amount of food you can grow in a very small space!  How to decide what to plant for small spaces?


If you have only a 6’ x 6’ space, a Mediterranean kitchen garden could include the following:
Herbs (1 each)-thyme, rosemary, sage, oregano, and flat leaf parsley 
3 basil plants (for pesto and seasoning)  
2 tomatoes-1 small fruiting and 1 slicer type 
2 sweet pepper plants  
1 zucchini (look for “bush” types as they are more compact)  
1 eggplant 
8 red bunching onions 
8 garlic plants 
Arugula, spinach and lettuce scatter sowed  

For more details on a compact French garden:  Small space French kitchen garden
For an Italian garden:  Heirloom Sicilian kitchen garden  To entice the little ones, an Italian garden can also be called a "Pizza or Spaghetti Garden"!  Pizza garden for the kids

If you also have room for pots on the patio, you could grow the zucchini, eggplant, and cucumber in pots  (only 1 plant in each pot) and add 3 bush or 6 pole bean plants in the garden bed or pot.  Traditional bush beans would be lentils, Romano, Capitano, Cannellini, fava; pole beans-Roma, Helda, Supermarconi.  Personally, I would stick with the beans you eat whole as shelled beans you do not get as much food per plant, and less food per space in the garden.

If you have more room, you can add almonds (yes, they survive Midwest winters), beets, chard, fennel, chickpeas, figs (grows well in a pot), asparagus, cardoon, chicories, radicchio, endives, broccoli, cauliflower, or annual artichokes.  A word of caution, don't go overboard the first year!

If you are just beginning a garden, do start small.  You want the garden to be fun and relaxing, not overwhelming.  Don't be afraid to begin.  The force of life is strong and really doesn't need much from us.  Buy a few plants in the early spring and just put them in the ground with a natural fertilizer and you will be amazed at how they just go to town all by themselves!
Vintage WW2 poster
For seed catalogues, the best to order from are those that do their trials in your region of the country.  The seeds and plants they carry are the ones that have performed the best for them in their trial gardens.  Baker Creek is fun because they specialize heirlooms and rare seeds from around the world.  Territorial Seeds has a good summary in each section of growing tips.

Catalogs I love are the ones that the links are on the right.  I have ordered from them all and been happy with their selection and how well the plants did.

Still having trouble deciding?  Well, you have some time before the season starts.  Heck, you can procrastinate all the way to June..........  It is not too late to start a garden in June!  You can use this time to make your plan based on what you eat this winter.  Use this winter to figure out what to grow in the ...

Saturday, January 2, 2021

Seed starting tips for beginners

 Saturday, January 2, 2020

What are the tricks to successful seed starting?  The most sure fire I have found with a gadget is the Aerogarden with the seed starting tray.  I have almost 100% germination rate with it.  I also start many seeds in the basic seed starting kits you get from the big box stores with good luck.  It took more time to figure out how to have success with these kits.  Here is what I have learned.

With the Aerogarden hydroponic seed starting system, I don't even have to worry about using a heating pad for the warm season crops.   It is easy to take the seedlings and just plant into larger pot or directly into the garden when they are the right size for transplanting.  The drawback is the investment in buying the unit, seed starting tray, and plugs. 

You can also start seeds in pots you make yourself with newspaper, toilet paper cores, paper towel cores, or paper cups and sterile, organic seed starting mix.  A nifty way to do it is to cut used paper towel cores into sections and line with old newspaper.  You can plant the whole thing or push out the newspaper insert and compost the core.
Paper towel cores with paper towel bottoms
Another option is to use peat pellets and peat pots.  Peat is not a renewable resource, but there are substitutes for it now on the market.  Just read the labels.  I just bought ones made with coir at Lowes.
The key is using sterile seed starting mix, pots, containers and trays.  For the trays and containers, sterilize with alcohol or bleach solution.  You can make your own seed starting mix with peat moss or coir (renewable), compost, and vermiculite.  Just be sure to heat the compost to at least 150 degrees to kill any pathogens before using to start seeds.

Newspaper seed starter "pot"
Place the seeds in the starter mix in the pots after wetting the soil or coir thoroughly from the bottom (watering from the top can dislodge seeds).  Make sure to eliminate any air pockets in the soil before planting.  You can lightly press down on the soil with your finger or water overhead before planting the seed.  You don't want your soil mix to be completely wet, but nice and damp.  Seeds need oxygen to germinate.  Waterlogged soil can result in moldy seeds instead of seedlings.

After fully moist, they are ready to put in a catch pan.  Make sure any catch pan that you use has been thoroughly sprayed with alcohol or washed in a bleach solution so all pathogens are killed.  Rinse well after sterilizing and before using for seedlings.
I put my seed starts in a plastic tray in a sunny window or under LED grow lights that I have had for years that you can buy at any big box store.  Keep moist, but not wet, until seedling emerges.  Water from the bottom so as not to disturb the seed/seedling.  Pour off any standing water to discourage fungal disease.  You can use a spray bottle to keep the seedling and soil damp as well.  

Use bottom heat during the day to encourage speedy germination (turn off at night).  As soon as the seedlings have sprouted, discontinue the heat.  Additional heat helps speed germination and reduce the chance of mold or fungal disease.  By only using heat during the day and discontinuing heat after emerging, that has eliminated the dampening off of my seedlings.

Your seedlings will need diluted liquid fertilizer starting 3 weeks after planting.  Using a weak fish emulsion is said to help prevent dampening off.  It should be no greater than half strength as these are tiny plants that don't need as much food as a full size plant.
Some recommend using a small fan to blow on your seedlings to help them strengthen their stems, making them stronger transplants.  Another tip from a master gardener was to gently brush along the tops of the seedlings each morning.  This stimulates the stem to get stronger.  I am definitely trying the gentle brush technique this year as I have killed many transplants by accidentally crushing their fragile stem when trying to repot or transplant them out.  Another tip is to handle the seedling by its leaves and not its stem.

Make sure you label your seedlings as soon as you plant them; you may think you will remember 2 months from now what was where, but likely not!  Now is also a great time to start keeping a gardening journal.  Start tracking what you planted when so you can review next year what worked well to repeat and what didn’t work so well to tweak.
Keep a garden diary

For larger seeds, and seedlings, either start directly in the garden at the recommended time on the seed packet.  I always start peas and green beans directly in the garden bed.  Other larger seedlings like cucumbers, squash and tomatoes, choose a larger pot to start them in or transplant from the small peat pods to a small pot before transplanting to the garden.

Your seedling’s first leaves are not “true” leaves, think of them as baby teeth.  The second set of leaves are their true leaves.  They are ready to be hardened off when they have their first set of true leaves.  Seedlings must be hardened and not just thrown outside.  You take them out a little at a time, gradually increasing their exposure to sun and cold, only during the daytime.  I try and plant when there is a warm spell and there are clouds forecasted to minimize the shock.

Once the seedling is up and going, spacing them a couple of inches apart helps the plants to grow sturdy stems instead of spindly.  When crowded, the seedlings race to get to the light.  If they are still leggy, it is likely insufficient light.  Make sure you are keeping your artificial light as close to the seedlings as possible.  Using two T8 fluorescent bulbs or grow light bulbs for 16 hours per day should provide enough light to grow sturdy seedlings.

Don't be too worried if you have leggy seedlings.  Once hardened off outdoors, they will strengthen up.  You just have to be extra careful in handling them as their stems will be very fragile.  The best time to transplant is when recommended on the seed packet and when the seedling has nice roots that you can see throughout the soil.  Always harden off before planting.  Make sure the soil is moist and the seedling is fertilized when you plant so it has everything it needs to get growing.

It seems I grow more and more varieties from seeds, from flowers to herbs to fruits and veggies.  There are just so many fun varieties out there!  I also have saved seeds from store bought veggies that I thought were cool and tasted great.

There are great selections of herbs and veggies at nurseries and big box stores nowadays so you have many options, including heirlooms,  just waiting until spring is officially here and picking up what looks good at your nearby store in a couple of months.  Your local gardening centers will also carry the varieties best suited for your area.  This is also a great back up if your first seed starting adventure goes a little awry...........

Sunday, December 13, 2020

Vegetables for beginners

Chard

Sunday, December 13, 2020
So you want to try your hand at gardening and want to start with the easy ones.  What would those be?  Here are some easy crops to grow.  All can be grown in pots or the garden.  Start small.  Chose a couple to try this year.

Beets-this veggie is easy to start and grow.  Just plant seeds in a sunny location and let them grow.  They have no pests in my garden and can handle dips in temperatures.  You can eat the greens and the beet.  I like the Chioggia heirloom.  All about beautiful beets

Carrots-this veggie is easy to start and grow.  Sow the seeds in either a deep container or in loose soil.  Carrots are cold hardy.  If not pulled, they will bolt into flowers that look like Queen's Ann Lace, which are in the same family.  If left to flower, they are a prolific self-seeder.  Danvers Half Long are a solid performer and don't grow as long as the store carrots so they are not as picky on depth of pot or that the soil isn't fluffy in the garden bed down 18".  Just plant seeds in a sunny location and let them grow.  They have no pests in my garden and can handle dips in temperatures.  Grow crunchy, colorful carrots practically year round

Cucumbers-this veggie can be either a vine or bush.  If space constrained, grow the bush variety or the vine up a trellis.  Can be grown in a pot or garden.  I have done both.  I prefer growing my cucumbers in the garden.  You can start the seeds indoors or plant directly in their growing spot after all danger of frost has passed and the soil is warm.  Keep them picked to keep the fruits coming.  Bush Champion is a good choice for the pot or garden.  How to grow cucumbers-in pots or in the garden

Eggplant-I always grow my eggplants in a pot.  They are from the tropics so they enjoy the warmer soil of pots.  You can start indoors or buy transplants.  I have not had the greatest luck in seed starting.  I'd recommend buying a transplant.  Since they love warmth, plant outdoors after all danger of frost is passed.  Rosa Bianca is a nice variety.  I like any white eggplant as well.  These varieties stay sweet even in the most oppressive heat.  Harvest when the fruits are shiny.  If they become dull, they are over ripe.  Still edible, but the skin may be tougher than younger fruits.  The only pest issue I have with eggplants are flea beetles.  They love to eat the leaves!  You can ignore them or use insecticidal soap.  Be sure to spray only in the evening after all the beneficials are done visiting the flowers.  Eggplant-add this native from India to your garden

Lettuce-I grow this veggie year round in pots.  I also grow in the spring in the garden bed.  Lettuce prefers cool weather.  They will send up a flower stalk (bolt) when daytime temperatures hit the 80's.  They like lots of nitrogen.  I like for slow to bolt or heat hardy varieties in the spring and cold hardy varieties for the fall.  About the only pest of lettuce are slugs.  I don't usually have issues with slugs, but if you do you can use beer in a cup placed level with the ground or slug bait.  To keep lettuce sweet as long as possible, keep the soil moist and when it starts heating up, moving them into shade will extend the harvest.  Let them go to seed and re-sow the seeds to keep the harvest going for free.  A couple of good heat resistant varieties are Black Seeded Simpson and Red Sails.  Red Sails is still sweet as it bolts.  Everything you need to know about growing lettuce

Peas-I plant peas first thing in the spring as soon as the soil can be worked.  I plant them in pots that I will add pepper or eggplant to the pot later.  Peas love the cold and cool weather.  I prefer to grow snow peas with its edible pods.  The tips and flowers are a tasty addition to salads in the spring.  Peas have had no insects pressure in my garden.  Sugar Ann bush is a nice choice.   Time to plant peas!

Peppers-I grow this veggie in pots. They also grow just fine in the garden.  I did have some caterpillars snacking on the fruits this past summer that I have not had before.  Peppers are easy to grow from seed.  You can also buy transplants.  Both do well.  For a sweet pepper, I prefer growing snacking size peppers instead of the typical bell peppers.  They will give you lots more peppers.  Sweet Banana pepper produces very well.  If you like spicy peppers, jalapeños and cayenne plants are easy to grow and produce very well.  Keep the fruits harvested to keep production going.  Peppers are for every taste and garden

Radish-I grow this veggie. in pot  I start the seeds directly in the pot; they don't like to be transplanted.  I have not had any pest issues with radishes.  They enjoy cool temperatures so start in early spring.  The warmer the temperatures get, the hotter the radish gets!  If you like a little heat, try the heirloom Early French Breakfast.  I prefer the mild White Icicle variety.  Easy to grow crispy, peppery radishes

Snap beans-can be grown in pots or the garden.  The plants are either bush or vining types.  I prefer to grow the vining types, pole beans.  Pole beans produce all summer.  If you are growing a vining type, provide them a trellis.  Most vines grow 8-10 feet long unless you pinch off the end when they get the length you desire.  An easy heirloom to grow is Kentucky Wonder.  I had caterpillars eat on some of the beans.  Growing beans

Spinach-I usually grow this veggie in pot.  I have also grown in the garden with good success as well.    I start the seeds directly in the soil as soon as the ground can be worked in the spring.  They enjoy cool weather and go to seed as soon as temperatures get consistently in the 70's.  If you don't harvest them all, collect the seeds after they flower to sow spinach in the fall.  Like all greens, they need fertile soil.  Teton is a heat tolerant variety that will extend your harvest.  Grow spinach-a super nutritious, easy green

Summer squash-I usually grow this veggie in the garden but you can grow the bush types in a pot.  Summer squash gives you a long harvest.  You can use transplants or sow the seeds directly in the ground after all danger of frost has passed and the soil has warmed.  Saffron bush is an easy to grow variety.  Squash is susceptible to powdery mildew.  You can treat with a fungicide when it starts getting humid to prevent it.  You can use copper fungicide as an organic option.  Growing zucchini and summer squash

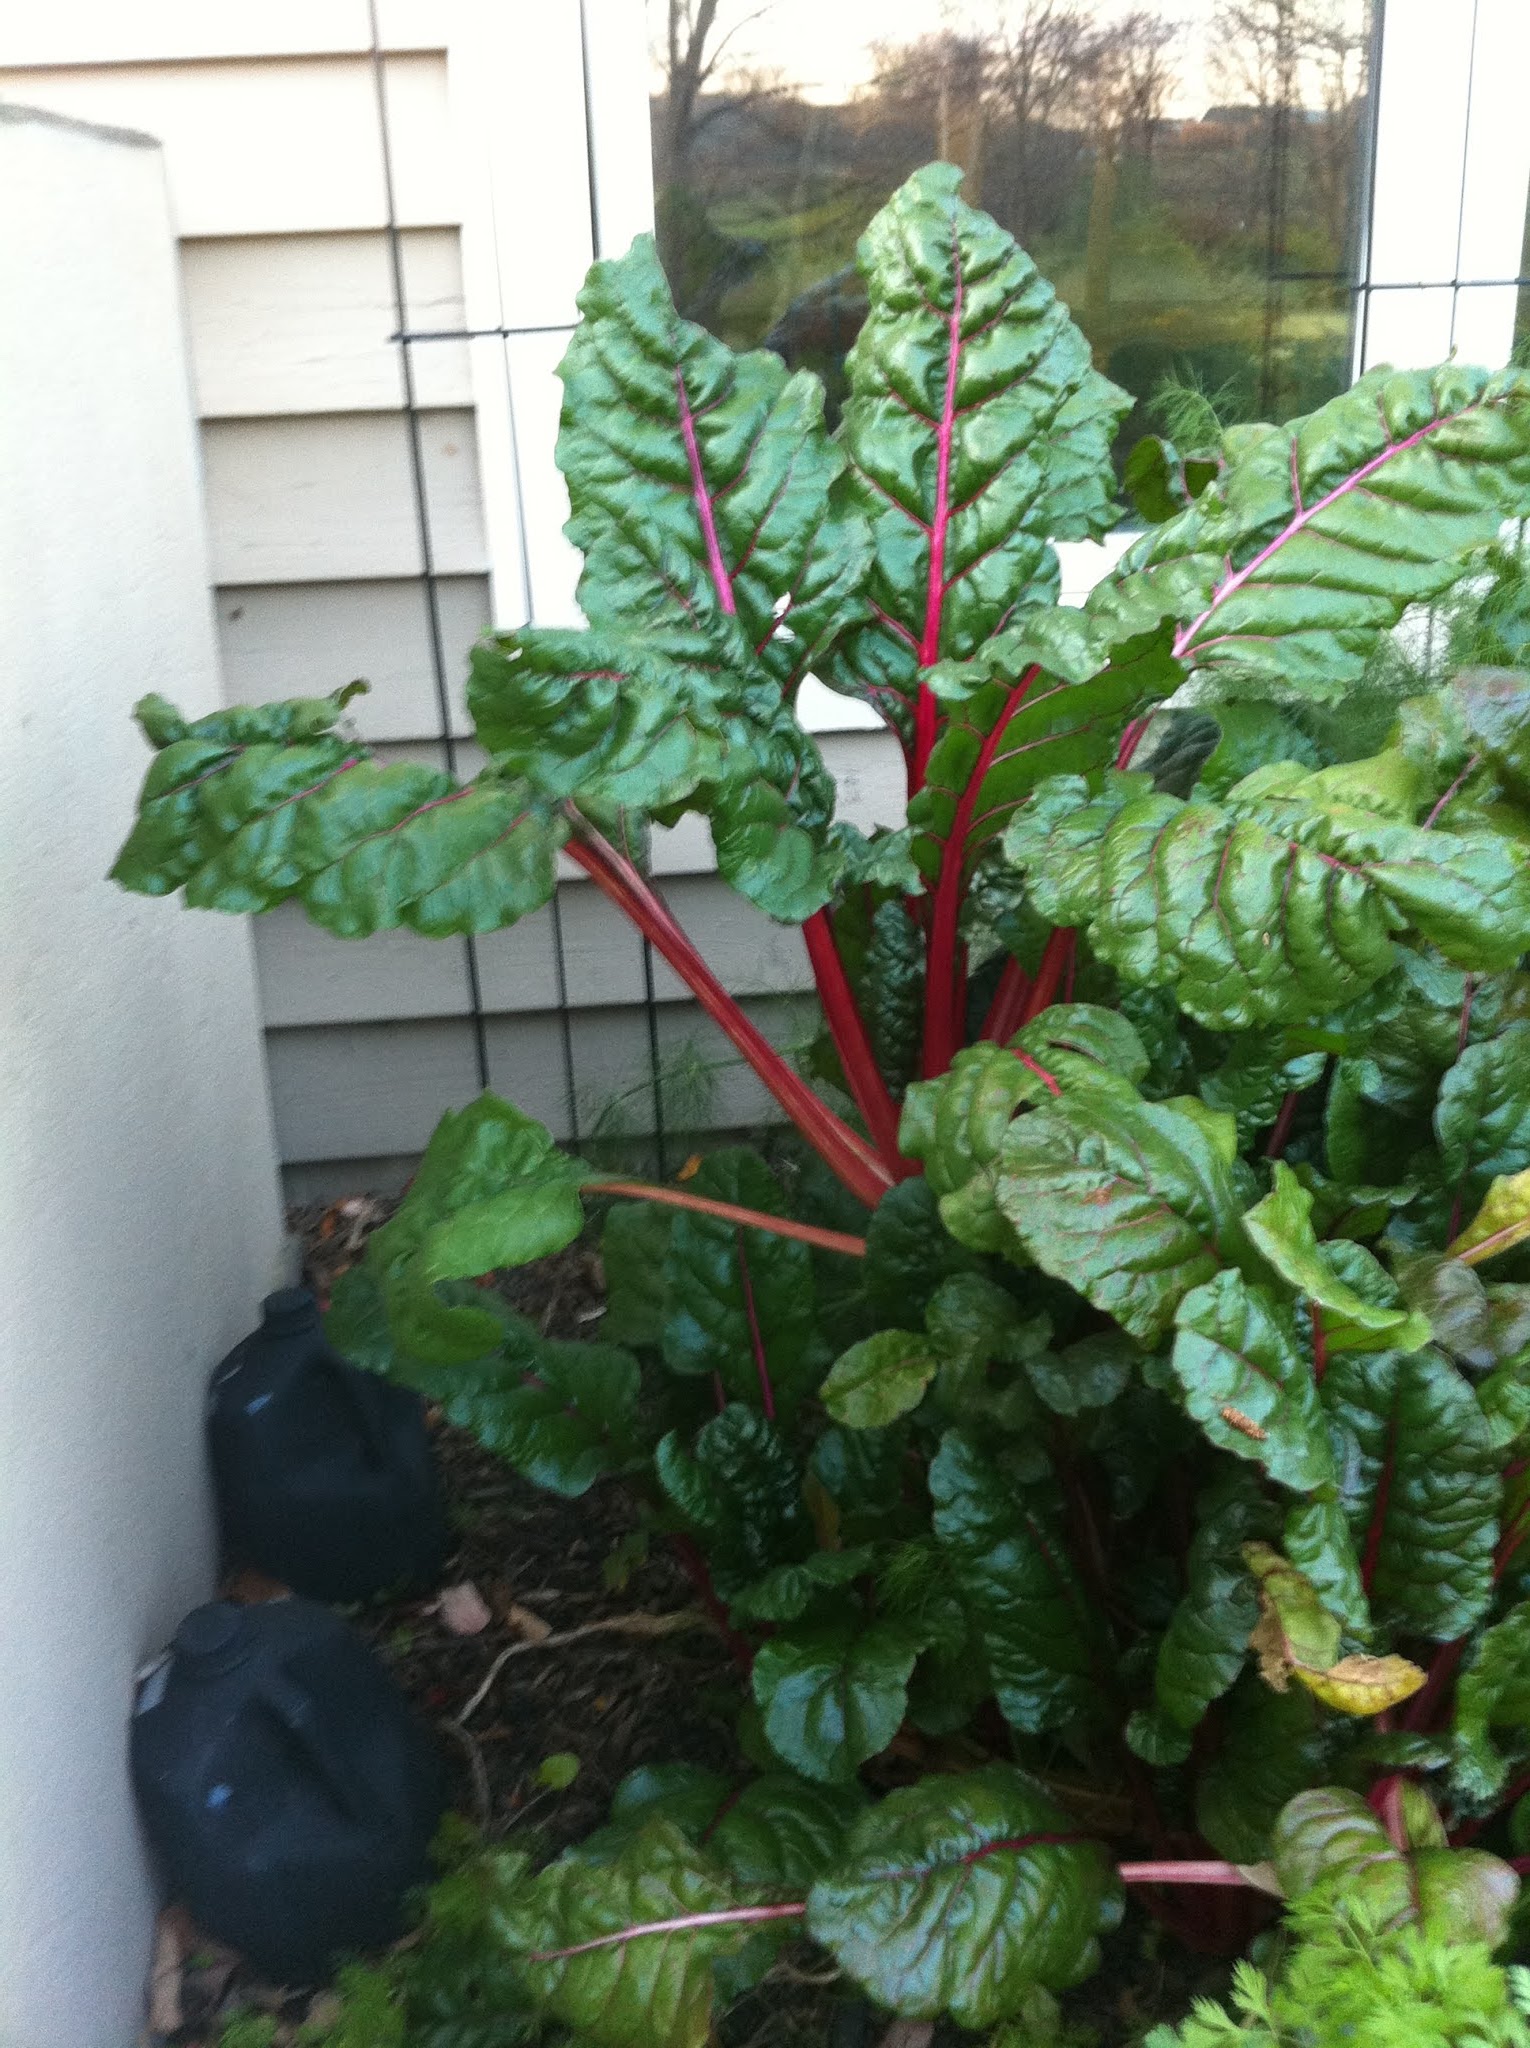
Swiss chard-I grow this veggie in the garden and in a pot.  Like all greens, they need fertile soil.  Chard is very cold hardy and a short lived perennial.  You can buy transplants or start from seed.  Start in early spring.  Chard can get bitter in the heat of summer but will get sweet again with the cool temperatures of fall.  You can use chard in salads when it's sweet and as steamed greens when not so sweet.  The only pest I have had with chard are slugs.  For year round steamed greens, grow chard!

Tomatoes-I usually grow this veggie in the garden but you can grow the dwarf types in a pot.  I usually grow one in a pot each season.  The dwarf varieties usually produce early, but since they are small plants, they don't produce a lot of fruits.  Tomatoes can have blight problems and the hornworm loves to eat the leaves and fruits.  If you see spots on your plants, pull the leaves off and put in the trash.  I pick off the hornworms.  For small tomatoes, Super Sweet 100 is a prolific producer.  For a slicer, the heirloom Cherokee Purple does great in my garden.  For paste, try San Remo.  Tomatoes 101, everything you need to know to grow great tomatoes

Saturday, December 12, 2020

What's happening in the mid-December edible garden


Sunrise in the mid-December garden

Saturday, December 12, 2020

Most think that nothing is alive to eat in a mid December garden.  Winter is hard on almost all living green things, but some can out weather even the harshest winter temperatures, especially if given a helping hand.

So, what is still surviving in mid December in our Zone 6/7 garden?  Perennial herbs and vegetables will still be green in the garden along with cole crops.  Oregano, creeping thyme, thyme, mint, parsley, carrots, celery, kale, cabbage, sorrel, chives, miner's lettuce, cultivated dandelions, chard, broccoli, cauliflower, Brussel sprouts and onions are all still green without any cover.

Edible December garden bed

Salad burnet
Oregano

Parsley

Chard
Rosemary

Egyptian walking onions

Kale

Under cover, lettuce, sprouting broccoli, celery, parsley, sorrel, chard, and kale are still green and happy. 
Greens inside portable greenhouse
Portable greenhouse over potted greens

Use the fresh greens in salads and herbs in salads, soups or cooked dishes.  It is cold outside, but the garden keeps giving.

Sunday, December 6, 2020

Great time to do a soil test


Mulched garden bed

Sunday, December 6, 2020

 Late fall is a great time to do a soil test.  There is usually a spring rush on soil testing so doing one now gets you your results expeditiously and gives you plenty of time to decide how to improve your soil before spring planting.      

You can get a basic soil test done at your local cooperative extension office, sometimes for free, or you can go for a more in depth soil test by mailing your soil out.  I am getting a local test done first.  I want to see what the basics look like (P-phosphorous, K-potassium, soil pH, calcium, magnesium, and zinc).  

You may be thinking, "What happened to N-nitrogen?".  Well, nitrogen is very volatile, it changes with temperatures and quickly over time so nitrogen isn't tested.  If you are adding compost or manure to your garden, you really don't need to add nitrogen fertilizer.  If you have more nitrogen than the plants can take up, it just runs off into streams and feeds the algae blooms that create dead zones and it costs money.

It is important to know what the pH of your soil is before you send off for an in-depth test as it changes which testing method is used.

The basic test is sufficient for getting a good harvest in the garden.  It is really all you need.  It is really smart to get a test because you can be adding fertilizer that is actually harming the growth and fruiting of your garden as well as causing contaminated run off into local streams and ponds.  In my area, we typically have sufficient phosphorous.  Too much phosphorous can cause plants to do poorly and even die.  Excess phosphorous run off has the same effect as nitrogen run off.  

How to take a soil test?  It is important to not include any mulch or compost that you may have added on top of your garden bed.  You want the actual soil.  It is best to take soil from the top 6-12" and from several spots in the garden bed.  You then mix the samples together and provide to your local extension office the amount they need to do the testing.  At our extension office, they need a cup of soil.

If you want to get a more in-depth test that includes more minerals and a reading on organic matter, you can send off to a soil lab.  For these tests, the sky is the limit on what you can have analyzed!

I had a more in-depth soil test done at Logan Labs in 2015 and then an individual analysis done at growabundant.com to get a more specific recommendation on improving mineral content of the soil.  After I get my local test done this month, I will send off for another in-depth test.  It's good to get testing done at the same lab, if possible, to monitor changes over the years.

If you are using organic fertilizers, these are slow release so adding to the garden early will make sure they are available when your spring garden gets going.  One more thing, make sure you keep your garden bed either growing something or covered for the winter to protect the soil you have worked hard to improve.

For more on improving minerals in your garden, and in your fruits and vegetables, The next step in garden production and your nutrition-soil minerals.